A caliper measures length, depth and diameter over a wide range using sliding jaws, and reads to a moderate precision. A micrometer measures a much smaller range using a fine screw thread, and reads to a finer precision. Calipers are for general sizing; micrometers are for checking tight tolerances.
What does a caliper actually measure?
A caliper measures the distance between two jaws that slide along a graduated beam. Most calipers can take outside measurements (across a bolt or a piece of stock), inside measurements (inside a hole or a groove), and depth measurements (down into a recess), all with the same tool.
The jaws close by hand pressure, sometimes helped by a thumbwheel, and a scale reads off the beam. Digital calipers show the figure on a small screen; dial calipers use a needle and dial; vernier calipers use two aligned scales read by eye. All three do the same mechanical job — they just display the result differently.
The strength of a caliper is range. A single tool can typically span from a few millimetres up to well over 100mm, which makes it the everyday choice for checking stock thickness, hole diameters, or how deep a mortise has been cut. For a broader look at how measuring tools in general are built and read, the measuring and layout section covers related instruments like tape measures and squares.
What does a micrometer actually measure?
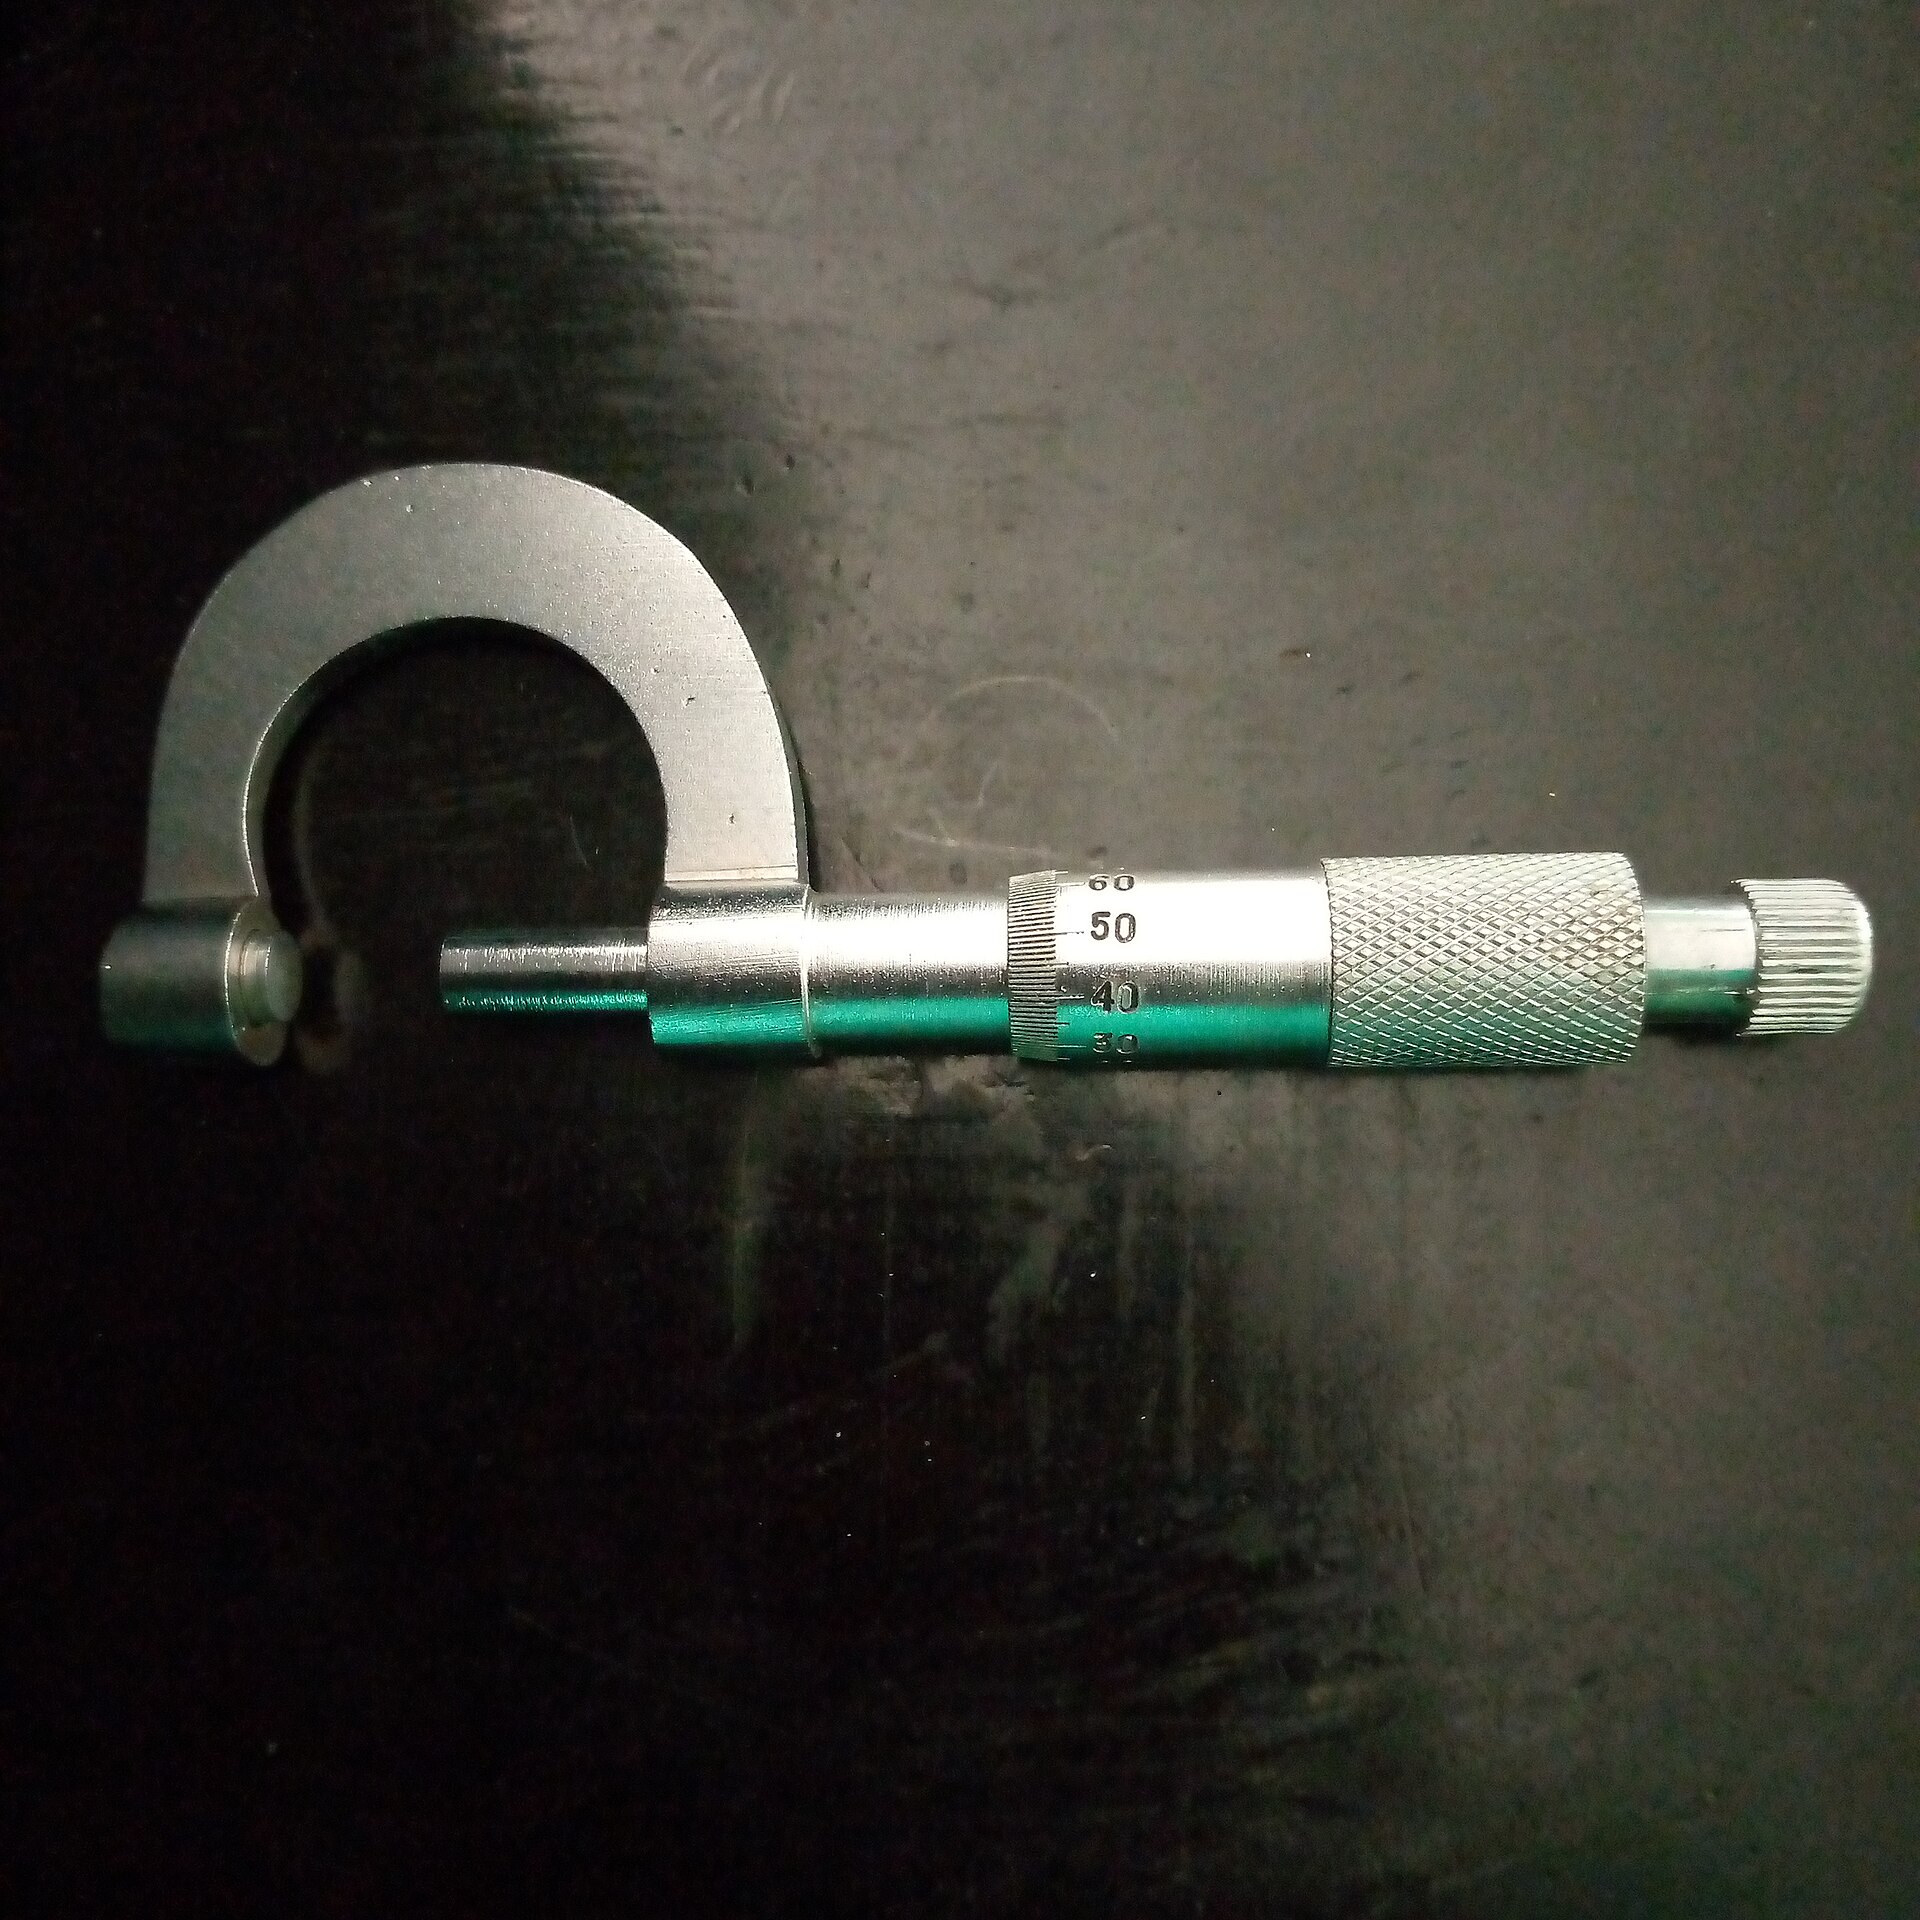
A micrometer measures the distance between a fixed anvil and a moving spindle, and the spindle advances by turning a precisely threaded screw. One full turn of the thimble moves the spindle a known, fixed distance, and the thimble’s own scale subdivides that turn into finer steps.
This screw mechanism is why a micrometer is more precise than a caliper’s sliding jaws: turning a fine thread lets a small hand movement translate into a tiny, controlled spindle movement, whereas sliding jaws are only as consistent as the pressure applied by hand.
The trade-off is range. A standard micrometer only covers a narrow window — commonly an inch or 25mm span — so a workshop that needs to measure across a wider range of sizes needs a matching set of micrometers, each covering its own band, rather than one tool that does everything.
Which one is more accurate?
A micrometer is generally capable of finer readings than a caliper of similar quality, because its screw-thread mechanism amplifies small movements more consistently than sliding jaws. But “more accurate” only matters if the job actually needs that level of resolution.
For most home workshop tasks — checking stock thickness before a cut, sizing a dowel, confirming a hole will take a fitting — a caliper’s precision is more than enough. A micrometer earns its keep on small, precision parts: checking a drill bit’s actual diameter, sizing a bearing seat, or verifying machined metal components where a caliper’s reading would be too coarse to trust.
Neither tool is meaningful without correct technique. Both need to be zeroed before use, and both give false readings if the jaws or anvil are squeezed too hard or held at an angle to the workpiece. Cleanliness of the measuring faces matters for both, but matters more for a micrometer, where a speck of swarf can throw off a reading that’s supposed to be fine.

Can a caliper do everything a micrometer does?
No. A caliper can approximate a micrometer’s job on larger parts, but it cannot match the finer resolution a micrometer offers on small, tight-tolerance work. The sliding-jaw mechanism simply isn’t built to resolve differences that small consistently.
Conversely, a micrometer cannot do a caliper’s job either, because its range is too narrow and it has no way to measure depth or the inside of a hole without a specialised attachment. The two tools are complementary rather than interchangeable — a caliper for range and general use, a micrometer for precision on small parts.
Do I need both, or just one?
Most home workshops get more day-to-day use out of a caliper. It handles the bulk of general sizing tasks — stock thickness, hole diameter, depth of a recess — across a useful range, and it’s quicker to use for rough or moderate-precision checks.
A micrometer becomes worth owning once the work involves small parts where a caliper’s reading isn’t tight enough to trust — metalworking projects, checking bit or rod diameters precisely, or fitting parts with very little clearance. If that kind of work is occasional rather than routine, it’s reasonable to borrow or hire a micrometer rather than keep one on the shelf.
- Choose a caliper for: general stock sizing, depth checks, inside/outside diameters across a wide range.
- Choose a micrometer for: small parts needing a finer resolution than a caliper can reliably give.
- Consider both if: the workshop regularly mixes general woodworking or joinery with small precision metal parts.
What should I compare when buying either tool?
Digital versus dial versus vernier is mostly about how the reading is displayed, not how precisely the tool measures. Digital displays are quick to read and often have a hold or zero button; dial and vernier versions don’t need a battery and tend to survive a dusty workshop without complaint.
For a caliper, check the range it covers and whether it has depth and inside-jaw capability built in, since some cheaper models skip one or the other. For a micrometer, check which size band it covers, since a single micrometer only spans a narrow window and buying the wrong band means it can’t measure the parts intended.
Build quality matters more than the display type for both tools. A caliper with sloppy jaws or a micrometer with a worn thread will give inconsistent readings regardless of how the number is shown. The buying tools guide hub covers how to weigh build quality against display features and price when comparing measuring tools generally, and the buying guides archive has more on interpreting spec sheets without chasing numbers that don’t matter in practice.
How does this compare to other measuring tools in the workshop?
Calipers and micrometers sit at the precise end of a toolkit that also includes tape measures, squares and marking gauges for everyday layout work. A tape measure’s accuracy depends on things like a deliberately loose hook, explained in more detail in why the hook on a tape measure is loose, and general accuracy expectations for tapes are covered in what accuracy means on a tape measure.
For marking out cuts rather than measuring finished parts, a marking gauge or a combination square is the more usual choice, since neither a caliper nor a micrometer is designed to scribe a line. Checking that a square itself is still true is worth doing periodically too — see how to check a try square for a simple method.
The broader tool guide hub explains how these different measuring and layout tools fit together, and the hand tools archive has more on the bench tools that pair with precise measurement, from squares to gauges.
Any safety points worth knowing?
Calipers and micrometers are hand tools with no motor, so the main risks are small: sharp jaw tips can mark or nick skin if handled carelessly, and metal parts can be cold enough to affect a reading if brought straight from a cold workshop to a warm part or vice versa, which is a precision issue rather than a safety one.
The bigger safety consideration is usually the workpiece being measured, not the measuring tool itself — freshly cut metal or timber edges can be sharp, and it’s worth letting anything just machined settle and cool before handling it closely for a measurement. General workshop PPE guidance, including eye and hand protection for handling freshly worked material, is covered in the safety and PPE archive.
Find Tool publishes general information, not professional advice. Power tools, mains electricity and workshop machinery are genuinely dangerous, and the safe settings, guards and procedures differ between models — always follow the manual and the markings on the tool in front of you rather than a general guide. Never remove or defeat a guard or safety feature. Anything involving fixed wiring, gas or structural work belongs to a qualified tradesperson. Wear the eye, ear and respiratory protection the task calls for.
Featured image: Photo by Jeremyida002, source, CC BY-SA 4.0