A combination square is a measuring and marking tool built around a steel rule that slides through an adjustable head. The head locks the rule at 90°, at 45°, or anywhere along its length, so one tool checks square, marks angles, measures depth and sets a marking gauge — which is why it gets picked up more often than any single power tool in the shop.
What is a combination square, exactly?
It is a rule with a movable head clamped onto it. Loosen the head, slide it to any position along the rule, tighten it, and it stays put. That single idea — a rule that can lock at a chosen point and a chosen angle — is what separates it from a fixed try square or a one-piece speed square.
Because the head and rule separate, the tool does several jobs that would otherwise need several separate tools: checking a right angle, checking a 45° mitre, setting a consistent depth or width, and acting as a straightedge for marking a line.
What are the parts, and what does each one do?
Most combination squares share the same three or four components, whatever the price point:
- The rule (blade): a flat steel bar, usually marked in fractions or millimetres along both edges, that slides through the head.
- The head: the block that clamps onto the rule. One face is machined square to the rule for checking 90°, and another face is cut at 45° for mitres.
- The locking mechanism: a thumbscrew, lever, or knurled nut that clamps the head at any position along the rule.
- A spirit vial and a scriber: many heads include a small level bubble for rough levelling checks, and a slot to store a scratch awl for marking lines directly off the tool.
The rule detaches from the head entirely on most models, which matters more than it sounds — a bent or nicked rule can be swapped without replacing the whole tool.
Why do woodworkers reach for it more than any single power tool?
A table saw, a router, or a drill each does one category of work. A combination square gets used at almost every stage of a project, often several times per piece:
- Marking a line square across a board before a cut.
- Checking that a cut edge actually came out square after the saw.
- Setting a consistent distance from an edge — for a groove, a hinge mortise, or a row of screw holes — by locking the head and running a pencil along the end of the rule.
- Checking a mitre before glue-up, where a small error compounds around a frame.
- Standing the head on a benchtop to check that an assembly, a jig, or a fence is sitting square to the surface.
None of those jobs needs power. They need a tool that is accurate, quick to set, and quick to read — which explains why it sits within arm’s reach on most benches rather than in a drawer.
What can a combination square actually check?
In practice, four checks cover most of its use:
- Square (90°): the head’s square face against an edge, with the rule laid across the surface, shows daylight (or none) if the edge is out of square.
- Mitre (45°): the 45° face of the head does the same job for mitred joints.
- Depth: the rule can be locked to project a set distance below the head, useful for checking a groove or rebate depth, or a mortise.
- Marking gauge duty: lock the rule at a set distance, hold the head against an edge, and run a pencil or scriber along the end of the rule to mark a line parallel to that edge.
This is also why it pairs so naturally with hand tools that depend on square reference surfaces — checking a plane sole or a chisel-cut shoulder for square is covered in more detail in the guide to what the numbers on a hand plane actually mean, and squareness of a crosscut line matters just as much on the saw side, discussed in rip saw vs crosscut saw: what’s the real difference.
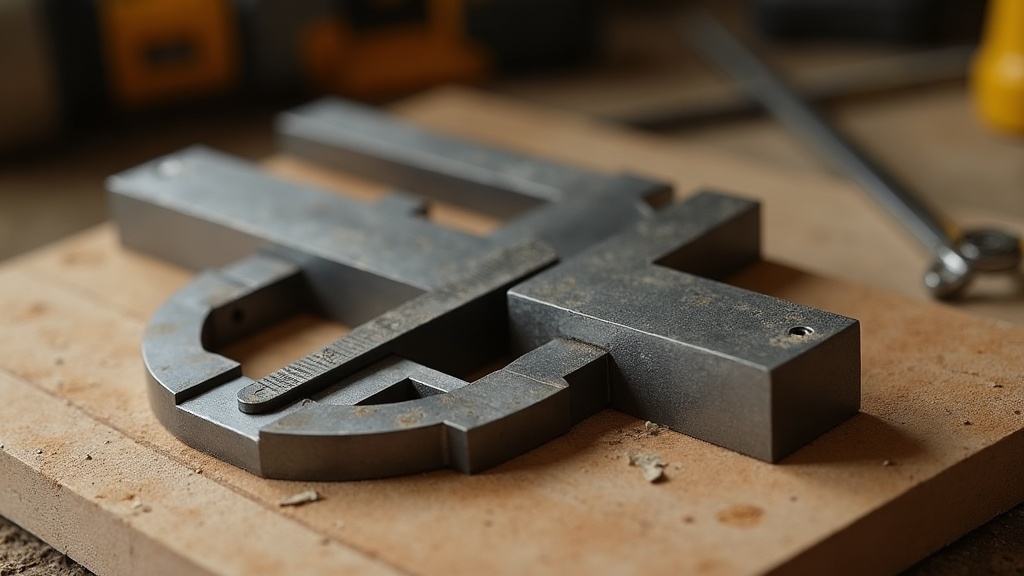
How is it different from a try square or a speed square?
All three check angles, but they are built for different jobs:
- Try square: a fixed 90° tool, usually with a wooden or metal handle. Simple, reliably square, but it only does one angle and cannot slide to set a distance.
- Speed square: a flat triangular tool aimed mainly at carpentry — quickly marking common angles on framing lumber and guiding a circular saw. Fast for rough work, but not built for the fine marking or depth-setting a combination square handles.
- Combination square: slower to set for a single quick check, but far more versatile because the head slides and locks anywhere on the rule.
Many benches end up with more than one square for this reason — a fixed try square for fast, repeatable checks, and a combination square for anything that needs a set distance or a second angle. The broader trade-offs between hand tools built for the same general job are covered in the tool guide hub, and how power-tool cuts and hand-tool marking layers work together is covered across the hand tools section.
What should you compare when buying one?
Combination squares vary a lot in price, and the differences are mostly about how tightly the head and rule hold their relationship over years of use, not about anything exotic:
- How the head locks: a thumbscrew works but can loosen with vibration; a cam-lock lever tends to hold more consistently and is faster to operate one-handed.
- Rule material and finish: stainless steel resists rust in a damp shed better than plain steel, and matters more if the tool lives somewhere unheated.
- Machining accuracy of the head faces: this is the part that actually determines whether “square” on the tool means square on the workpiece. It is difficult to judge from a listing photo, which is why checking a square against a known straightedge after buying — rather than trusting the packaging — is worth doing.
- Rule length: shorter rules (roughly hand-sized) suit small joinery and marking; longer rules suit checking wider panels or setting deeper grooves.
- Extra fittings: some sets add a centre-finder head or a protractor head that fits the same rule, which extends what the one rule can do without buying a second tool.
None of this is about chasing a headline spec — a combination square either holds its angle reliably or it does not, and that is worth testing by hand against a reference edge before committing to a project with it. General principles for weighing tool specifications against real use are laid out in the buying tools guide and the buying guides archive; how different measuring and marking tools stack up against each other is covered in the comparisons section.
What are the common mistakes that ruin accuracy?
A combination square is simple, but a few habits quietly undermine it:
- Dropping it: a fall onto a concrete floor can knock the head’s reference face out of true without leaving a visible mark. If a square has been dropped, check it against a known straightedge before trusting it again.
- Marking with the fat side of a pencil line: a thick pencil line adds real error to a fine joint. A sharp pencil, or the scriber built into many heads, keeps the mark as thin as the tool’s own accuracy deserves.
- Not seating the head fully against the edge: if the head rocks or sits at a slight angle to the reference edge, the rule reads an angle that is not actually 90°. A firm, flat contact between the head and the workpiece is what makes the reading trustworthy.
- Trusting it blind on a critical joint: for anything that has to be dead square — a mitred frame, a case carcass — checking the result with a second method, such as measuring diagonals across an assembly, catches small errors before glue goes on.
Does using a combination square need any protective equipment?
Marking and checking with the tool itself does not throw material or create dust, so it does not call for eye, ear, or respiratory protection on its own. The PPE question belongs to whatever cutting or shaping step follows the marking — a saw throwing dust and offcuts, a router removing material, or a sander producing fine dust all call for the protection suited to that specific tool. What each cutting tool actually needs, and why, is covered tool-by-tool in the safety and PPE section and across the power tools archive.
Is it worth having more than one?
Many home workshops end up with two: a smaller one for fine joinery marking and a larger one for checking wider panels or setting deeper grooves. Since the head and rule are separate parts on most designs, a second rule of a different length can sometimes be bought to fit an existing head, rather than buying a whole second tool outright — worth checking against the specific brand and model before assuming the fit will match.
Whatever the count on the bench, the reason it gets reached for constantly comes back to the same point: it is the one measuring tool that checks an angle, sets a distance, and marks a line, all without changing tools or leaving the bench.
Find Tool publishes general information, not professional advice. Power tools, mains electricity and workshop machinery are genuinely dangerous, and the safe settings, guards and procedures differ between models — always follow the manual and the markings on the tool in front of you rather than a general guide. Never remove or defeat a guard or safety feature. Anything involving fixed wiring, gas or structural work belongs to a qualified tradesperson. Wear the eye, ear and respiratory protection the task calls for.
Related reading
What Is a Stud Finder Actually Detecting?.
Featured image: Photo by HutheMeow, source, CC BY-SA 4.0
