The hook on a tape measure is loose on purpose. It slides back and forth by a small, fixed amount so the tape reads accurately whether you are hooking it over an edge (a push measurement) or butting it against a surface (a pull measurement). That wobble is called end play, and it is a design feature, not a fault.
What is that wobble actually doing?
The hook moves along two slotted rivets rather than being fixed rigidly to the blade. That slot lets the hook shift by exactly the thickness of the hook itself, which is also the amount the tape needs to compensate for depending on how you are using it.
When you hook the tape over the outside edge of a board and pull the case away, the hook is being pulled outward, away from the blade. When you push the case up against a wall or into a corner, the hook is being pressed inward, toward the blade. Those are two different physical situations, and without compensation they would give two different readings for the same actual length.
The sliding hook automatically takes up that difference. It moves outward under pull and inward under push, so the zero point of the blade lands in the right place either way. This is one of the small mechanical details covered in more depth on the page about what accuracy actually means on a tape measure, which is worth reading if you want the fuller picture of where measurement error creeps in.
Why not just make the hook fixed and rigid?
A fixed hook would only ever be correct for one type of measurement — either push or pull, but not both. Making it move solves a real problem with a simple piece of mechanical design rather than asking the user to do mental arithmetic every time.
Think about the two jobs a hook actually does. Hooked over an edge, it needs to sit exactly at the true zero of the tape when you pull. Pushed against a surface, the hook itself gets shoved back slightly, and the case has to know that the blade’s zero point has effectively moved forward by the hook’s own thickness. A rigid hook could only ever be right for one of those cases. The sliding hook, moving by precisely that same thickness in each direction, keeps both correct without the user doing anything except using the tape normally.
This is the kind of detail that separates a genuinely accurate tape from one that only looks accurate at a glance. It sits alongside blade width, tip design and hook thickness as things worth comparing when choosing between measuring tools, a topic covered more broadly in the measuring and layout section and in the general buying guide hub.

How much play should a hook have?
A small amount — enough to visibly rock back and forth when nudged with a finger, but not so much that it flops loosely or feels like it is about to come off. The exact amount is set by the manufacturer to match that specific hook’s thickness, so there is no single number that applies to every tape.
If the hook barely moves at all, or feels stiff and sticky, it may not be compensating properly, and push and pull measurements could start to disagree with each other. If it moves so much that it rattles loosely or the rivets look bent or worn oval, the tape is probably reading inconsistently and is worth replacing rather than trusted for anything that needs to line up.
A rough check is easy to do without any special equipment. Hook the tape over the edge of a board and note the reading, then push the case up against the same edge from the other side and check that the reading matches once you account for the case length (many tapes print the case length on the underside for exactly this reason). If the two readings disagree by more than a hair, something in the hook mechanism is off.
Can a loose tape measure hook be fixed?
Sometimes. If the rivets are just dirty or full of dust, cleaning them out can restore normal movement. If the slot itself is worn oval or the rivets are bent or damaged, the hook’s travel is no longer the correct amount, and no amount of cleaning will fix that — the tape should be retired for accuracy-critical work.
Tapes get dropped, driven over, and dragged through sawdust and grit for years, and the hook takes the brunt of that abuse since it is usually the first part to hit the ground. A little sawdust or metal filings in the slot can make the hook feel sticky or stiff rather than sliding freely, and a wipe with a dry cloth or a light brush is often enough to restore the intended movement.
Damage is a different story. If the hook has been bent from a fall, or the rivet holes have worn into an oval shape from years of use, the amount of travel is no longer matched to the hook’s thickness. At that point the compensation is wrong in one direction or the other, and the tape will quietly give slightly different readings depending on how it’s used — exactly the kind of small, hard-to-spot error that causes a cut piece to come up short or a shelf to sit crooked.
For work where the size of the error genuinely matters — cabinetry, fitted joinery, anything with multiple parts that need to line up — it is worth keeping a second tape as a check, or simply retiring a tape once the hook mechanism no longer moves cleanly. Tapes are inexpensive tools and a damaged hook is not something to work around.
Does hook looseness affect every measurement equally?
No. It matters most on shorter, precision-critical measurements where a small offset is a large percentage of the total, and matters far less on long, rough measurements where a small discrepancy gets lost in the overall tolerance of the job.
Framing a rough opening for a shed door has a lot of built-in tolerance; a slightly off hook is unlikely to cause a visible problem. Cutting drawer parts to fit inside a case, or marking out dovetails that need to match front and back, is a different matter — small errors compound, and a hook that isn’t compensating correctly can be the hidden source of a joint that almost fits.
This is part of why many people who do fine work keep a marking gauge or a combination square in reach rather than relying on tape measurements for every mark. The page on what a marking gauge does that a pencil can’t and the one on why a combination square is such a used bench tool both cover tools that sidestep tape-reading error entirely for the marks that matter most.
What else about a tape measure is worth understanding?
The hook is one of several design details — blade width, the printed case length, the coating on the blade, and the way the tang is stamped — that together determine how trustworthy a given tape actually is in daily use. None of them are visible from a quick glance in a shop.
- The case length stamped or printed on the housing, used for inside measurements taken by pushing the case into a corner.
- Blade width and stiffness, which determine how far the tape can be extended horizontally before it sags.
- The coating on the blade face, which affects how long the printed markings stay legible under regular use.
For a broader look at how measuring and marking tools work and what their specifications actually mean in practice, the tool guide hub and the hand tools archive are good starting points. Anyone comparing tapes before buying may also find it useful to browse the buying guides archive, which covers what to weigh up beyond the headline length printed on the case.
Find Tool publishes general information, not professional advice. Power tools, mains electricity and workshop machinery are genuinely dangerous, and the safe settings, guards and procedures differ between models — always follow the manual and the markings on the tool in front of you rather than a general guide. Never remove or defeat a guard or safety feature. Anything involving fixed wiring, gas or structural work belongs to a qualified tradesperson. Wear the eye, ear and respiratory protection the task calls for.
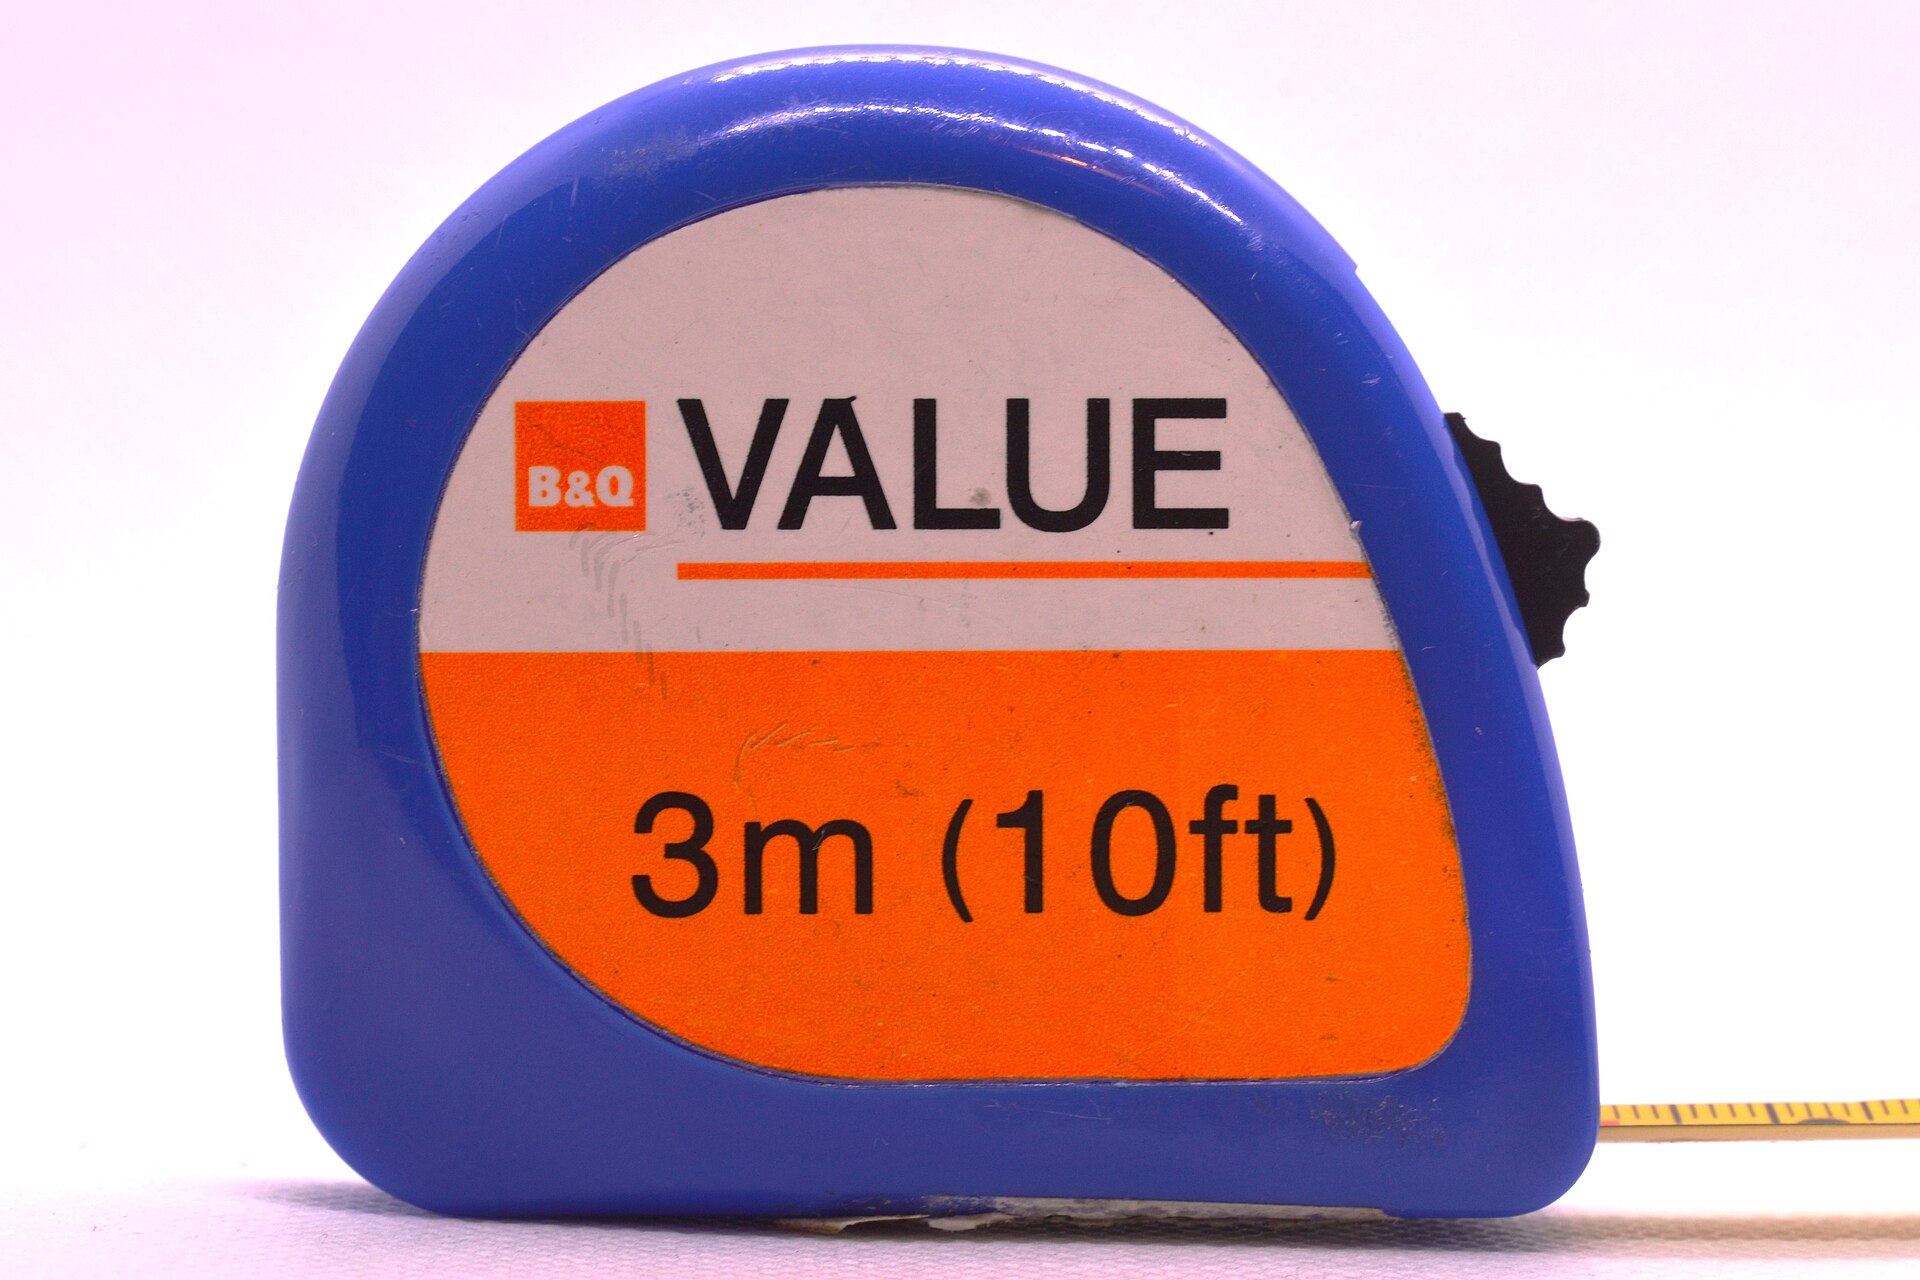
Featured image: Photo by 多多123, source, CC BY 4.0