A marking gauge is a hand tool that scores a thin, consistent line parallel to an edge of a workpiece, using a pin, wheel or knife locked at a fixed distance. Unlike a pencil, it produces a physical groove that a saw or chisel can register against, and it holds the same distance every time it’s used.
What does a marking gauge actually do?
A marking gauge marks a line at a set distance from a reference edge, and it repeats that distance exactly across every pass. The tool has a fence that rides along the edge of the board and a marking point mounted on a beam that slides through the fence and locks in place.
Once the distance is set, the same setting can be transferred to as many pieces as needed without measuring again. That is the entire point of the tool: not just marking a line, but marking the same line, repeatedly, without cumulative error.
Common uses include:
- Marking the depth of a mortise or the width of a tenon
- Setting a consistent line for a rebate or groove
- Scoring the shoulder line of a joint before sawing
- Duplicating a dimension across multiple identical parts
Why not just use a pencil?
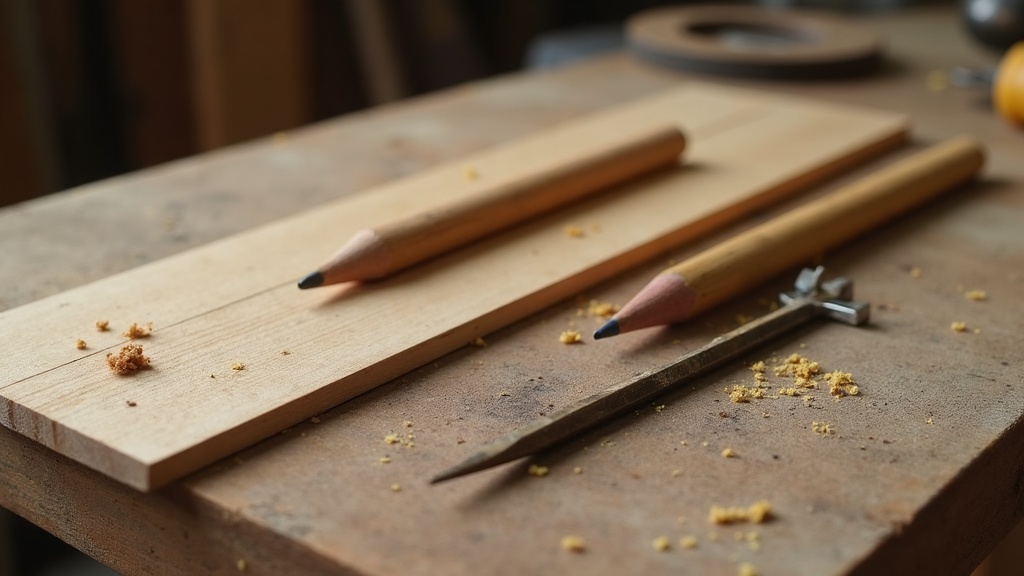
A pencil line is fine for rough layout, but it has two problems for precision joinery: the line has width, and it does not create a physical registration point. A marking gauge solves both by scoring a fine groove that a blade can sit into.
A pencil mark is really a band, not a line. Depending on the sharpness of the point, that band can be wider than the tolerance the joint needs. When several pencil marks are drawn from slightly different reference points, or eyeballed against a rule, small errors creep in — and small errors in a mortise-and-tenon joint add up to a visible gap.
A marking gauge line is a physical groove cut fractionally into the wood fibres. A saw tooth or a chisel edge can drop into that groove and follow it, rather than following the operator’s eye down the outer edge of a pencil band. That is a meaningfully different level of control when the joint needs to be tight.
None of this makes a pencil useless. For rough cuts, sketching layout, or marking a piece that will be cut oversize and trimmed later, a pencil is faster and perfectly adequate. The gauge earns its place when the line has to be exact and has to be repeated.
What are the different types of marking gauge?
The main types differ in what kind of point they use and how many lines they can set at once. The choice depends on whether the work is straight grain, cross grain, or needs two parallel lines marked in one pass.
- Pin gauge — a simple metal pin or spur scores the line. Works well along the grain but can tear cross-grain fibres if not angled correctly.
- Cutting gauge — uses a small blade instead of a pin, giving a cleaner line across the grain and a cut that can sometimes be deepened into a light groove.
- Wheel gauge — a small rotating disc blade that shears the fibres cleanly in both directions, popular for general bench work.
- Mortise gauge — has two pins, often adjustable relative to each other, so it marks both sides of a mortise or tenon in one setting.
Materials range from simple beech-bodied gauges to versions with brass fittings and locking screws. The material affects durability and feel more than it affects what the tool can do — a well-set beech gauge and a brass-trimmed one both cut the same kind of line.
How is a marking gauge different from a combination square?
A combination square is mainly for checking angles, transferring a line across a face, and confirming a surface is square; a marking gauge is built specifically to run a fence along an edge and hold one fixed distance for repeat marking. They often work together rather than replacing each other.
A typical sequence on a piece of joinery might use a square to mark a shoulder line across the face of the board, then a gauge to mark the depth or width of that joint along the edge, referencing the same face the whole time. Readers who want more detail on how a combination square is used for this kind of layout work can see the piece on what a combination square is and why it’s used so often.
What should a beginner look for when buying a marking gauge?
The features that matter most are how securely the beam locks in position, how smoothly the fence slides, and whether the point type suits the kind of cutting the reader does most. A gauge that shifts under light pressure defeats the purpose of the tool.
Points worth comparing:
- Locking mechanism — a thumb screw or cam lock that holds the setting firmly without marking or damaging the beam
- Fence size and flatness — a fence that sits flush against the reference edge without rocking
- Point type — a pin for general work, a wheel or cutting blade if cross-grain marking is common
- Single pin vs mortise gauge — worth the extra cost only if mortise-and-tenon work is a regular part of the workshop’s projects
None of these features can be reduced to a single “better” spec — a wheel gauge is not automatically superior to a pin gauge, it is a different tool suited to different grain and different habits. The general approach to comparing hand tools by what each feature actually changes, rather than by brand reputation, is covered on the site’s buying tools guide.
How does a marking gauge fit into a wider layout kit?
A marking gauge is one part of a small family of layout tools that also includes squares, rules and marking knives, each suited to a different kind of line. Building a basic kit means understanding what each tool is actually for, rather than buying whatever looks most versatile.
A square checks angles and transfers lines across a face. A rule measures distance. A marking knife scores a fine line freehand, without a fence, useful where a gauge’s fence has nothing to register against. A marking gauge does the one job none of the others can: holding a fixed offset from an edge and repeating it. Readers building out this side of a home workshop can browse the site’s measuring and layout section for related tools, or the broader hand tools archive for context on where a gauge sits among chisels, saws and planes.
Does a marking gauge need any safety precautions?
A marking gauge is a low-risk hand tool compared with anything powered, but the pin, wheel or blade is still sharp enough to cut skin, and the workpiece is usually braced by the other hand close to the marking edge. Basic eye protection is sensible when working near eye height, and care with hand position around the point matters more than any specific PPE.
The main practical hazard is the same as with a chisel or marking knife: keeping fingers clear of the line the point will travel, and securing the workpiece — in a vice or against a bench stop — so it cannot shift while the gauge is drawn along it. Readers working through a wider set of edge tools may find it useful to compare how a chisel’s bevel angle affects control in a similar way, since both tools depend on a steady, braced cut rather than force.
Where does a marking gauge fit against other layout and joinery tools?
A marking gauge is best understood alongside the tools it’s regularly paired with on the bench: a square for angles, a saw for the cut itself, and a chisel or plane for cleaning up to the scored line. None of these tools replace the others — each handles one stage of getting a joint from rough stock to a finished fit.
For readers comparing saw types once a joint is marked out, the difference between a rip cut and a crosscut is explained in the article on rip saw vs crosscut saw. Those working with Japanese-style saws, which many woodworkers pair with gauge lines for fine joinery, can also see the explanation of why a Japanese pull saw cuts on the pull stroke. For a broader look at how hand tools in general are chosen and compared, the site’s tool guide hub and buying guides section cover the reasoning behind spec choices across categories.
Is a marking gauge worth adding to a small home workshop?
For anyone cutting joints that need to fit — mortises, tenons, rebates, or matching parts — a marking gauge earns its place quickly, because it removes the guesswork a pencil and a rule leave behind. For rough carpentry or one-off cuts that will be trimmed to fit anyway, a pencil remains the quicker, perfectly reasonable choice.
The decision comes down to what the work demands: repeatable precision points toward a gauge, while quick, forgiving layout points toward a pencil. Many home workshops end up owning both and reaching for whichever the job actually calls for.
Find Tool publishes general information, not professional advice. Power tools, mains electricity and workshop machinery are genuinely dangerous, and the safe settings, guards and procedures differ between models — always follow the manual and the markings on the tool in front of you rather than a general guide. Never remove or defeat a guard or safety feature. Anything involving fixed wiring, gas or structural work belongs to a qualified tradesperson. Wear the eye, ear and respiratory protection the task calls for.
Related reading
What Is a Pipe Wrench, and Why That Shape?, What Is a Bradawl For? A Plain-Language Guide.
Featured image: Photo by J Jongsma, source, CC BY-SA 2.0
