A digital angle finder measures the angle between two surfaces, or the tilt of a single surface relative to level, and shows the result as a number on a screen. It replaces guesswork with a readable figure for setting bevels, checking mitres and matching odd angles when a protractor is too fiddly.
What does a digital angle finder actually do?
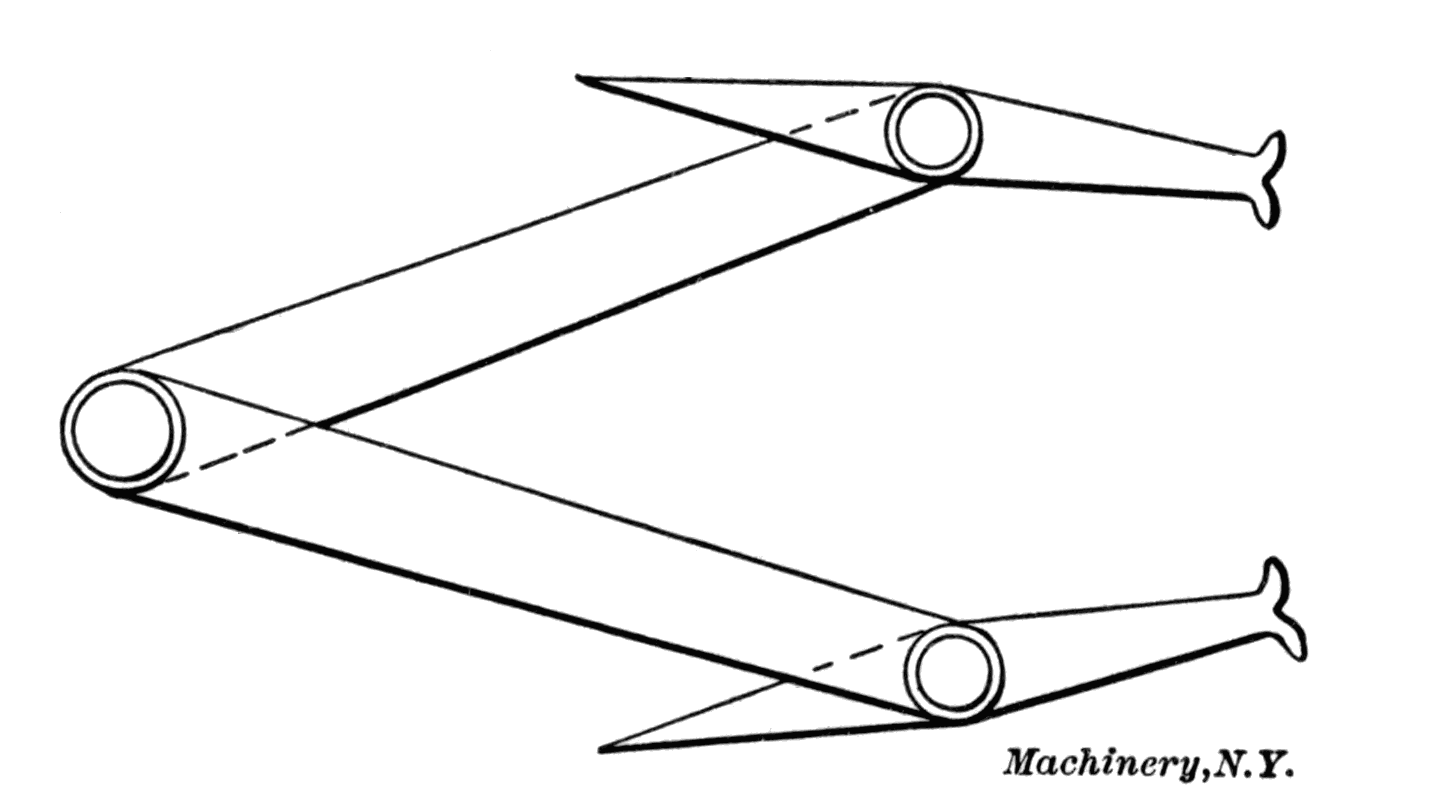
It reads an angle and displays it digitally, usually to a fraction of a degree, instead of making you line up marks on a dial or protractor arm. Most models work in two ways: as a standalone box you rest against a surface to read its tilt against gravity, or as a hinged gauge with two arms you open across a corner or joint to read the angle between them.
The gravity-referenced type is essentially a small electronic spirit level with a numeric readout. Point it at a roof pitch, a stair stringer, or the tilt of a table saw blade, and it tells you the angle from horizontal or vertical. The hinged-arm type is closer to a protractor: you spread the two blades to match an existing angle, such as an odd wall corner or a mitre joint, and read the number it settles on.
Either way, the tool is doing the same job a bevel gauge or protractor has always done — it is just replacing the reading step with a digital number so there is less room to misread a scale.
What is it actually used for in a home workshop?
The most common use is setting bevel cuts on a saw, matching an angle from one part of a project onto another, and checking whether something is genuinely level or square before it gets fixed in place. It suits jobs where “close enough by eye” is not close enough.
- Matching a wall or corner angle for skirting board, architrave or picture framing that is not a clean 90 degrees.
- Setting a bevel on a hand plane, chisel, or workpiece before cutting, then checking the result afterward.
- Transferring an angle from an existing structure — a roof rafter, a staircase, an old piece of furniture — onto a new piece of material.
- Checking that a saw’s angle scale is actually telling the truth, since factory scales can drift or read slightly off after use.
- Confirming the tilt of a workbench, jig or fixture before a repeatable batch of cuts.
In each case the number on the display is not the finished job — it is an input. The actual cutting still depends on the tool being used correctly and on following that tool’s own manual for depth of cut, blade selection and safe operation.
How is it different from a protractor or a bevel gauge?
A protractor or sliding bevel gauge does the same basic job but relies on you reading a printed scale, often at an angle that makes fine graduations hard to see. A digital angle finder gives a direct numeric readout, which reduces reading error, especially at fine fractions of a degree.
The trade-off is that a digital tool needs a battery and a working display, and it is generally more expensive for the same working range than a simple mechanical bevel gauge. A mechanical bevel gauge never runs flat, never needs zeroing, and can be thrown in a tool bag without much concern. For a wider look at how measuring tools compare and what their specifications actually mean, the measuring and layout archive covers related gauges and levels in more depth.
It is also worth separating an angle finder from a spirit level. A spirit level tells you whether something is level or plumb using a bubble in a vial — useful background reading is available at what a spirit level’s vial is actually telling you. An angle finder goes further and gives you the actual number of degrees off level or off square, which matters when you need to reproduce that angle elsewhere, not just confirm it is flat.
Do I need one if I already have a combination square?
A combination square is built around fixed references — mostly 90 and 45 degrees — and is excellent for those two jobs plus depth and marking tasks. It does not tell you what an odd, unmarked angle actually measures. An angle finder fills that specific gap.
If most of the work in a shop is square cuts, dados and standard mitres, a combination square remains the tool reached for first — see what a combination square is and why it’s used so much for why it earns bench space in almost every workshop. An angle finder becomes worth owning once projects start involving angles that are not a clean 90 or 45, such as irregular room corners, staircases, or furniture with splayed legs.
The two tools are not competitors. A square confirms and marks known angles; an angle finder measures unknown ones so they can be reproduced.
Where does it fall short?
Digital angle finders are only as accurate as their calibration and their contact with the surface being measured. Sawdust, paint drips or a slightly warped reference edge under the tool will throw the reading off even though the display still shows a confident, precise-looking number.
They also depend on a battery. A reading taken as the battery runs low can drift, and a display that looks normal is not proof the reading is trustworthy. Zeroing the tool against a known flat, square reference before an important measurement is a habit worth building, and the instructions for a specific model will explain the correct zeroing procedure — that detail varies between tools and is not something to guess at.
Finally, an angle finder measures an angle; it does not correct for movement in timber, gaps in a joint, or a saw blade that is not cutting where its scale claims. It is one input into a job, not a guarantee of a good result. Verifying a saw’s own angle scale against an independent angle finder is a genuinely useful check, precisely because factory scales can be less accurate than expected.
What should I compare when buying one?
The comparison points that matter are readability, range, and how the tool actually contacts the workpiece — not headline accuracy figures. A confident-looking decimal on a spec sheet says nothing about real-world repeatability once dust, glare or an awkward angle enter the picture.
- Type of tool — a box-style gravity reader suits checking tilt against level or plumb; a hinged-arm gauge suits copying an angle between two physical surfaces. Some jobs need both.
- Display readability — a screen that is easy to read in a dim workshop or bright outdoor light matters more day to day than an extra decimal place of claimed precision.
- Magnetic base — useful for holding the tool steady against a metal saw table or blade while both hands are free to make an adjustment.
- Battery type and how it’s replaced — a tool that is fiddly to open for a battery swap becomes annoying quickly.
- Build of the reference edges — straight, unworn edges matter more than any digital feature, since a dented edge introduces error no display can correct.
For a broader framework on how to weigh specifications against real usefulness before spending money, the buying tools guide hub walks through what actually drives value in measuring and layout tools generally, and the buying guides archive has more tool-specific comparisons.
Is there any safety consideration with this tool?
The angle finder itself is a low-risk hand tool — no blade, no motor. The safety consideration is what happens after the reading: it is often used right next to a saw, plane or chisel that is about to cut based on that number. Eye protection is worth wearing whenever the next step involves cutting or planing material that can throw chips or dust, and hearing protection matters if that next step is a sustained run on a powered saw.
Fine dust from hardwood, MDF or similar sheet material is a respiratory hazard on its own, independent of the angle-finding step, and a suitable dust mask or respirator is worth having on hand for that stage of the work rather than treating it as optional. For general context on what protective equipment suits which task, the safety and PPE archive covers this by task rather than by tool.
None of this makes measuring an angle itself dangerous — it just means the tool sits at the start of a workflow that often ends with something sharp or loud, and the precautions belong to that later stage, not to the measuring step.
How does this fit with other measuring tools in a workshop?
An angle finder is one piece of a small family of layout tools that between them cover flat, straight, square and now angled. A spirit level or laser level confirms level and plumb — see what a laser level is and what its real limits are for where a laser tool takes over from a bubble level. A try square or combination square confirms 90 degrees, explained at what a try square is and how to check one. A tape measure or caliper handles length and thickness, with the difference between caliper types covered at caliper vs micrometer: what’s the real difference.
An angle finder slots in alongside these for the one measurement none of them handle well: an arbitrary angle that needs to be read accurately and then copied elsewhere. Owning one does not replace a square or a level — it covers the gap between them.
For a wider view of how measuring and layout tools work together, and where each earns its place on a bench, the tool guide hub and the hand tools archive are useful starting points, alongside the power tools archive for the saws and planes that usually act on the angle once it has been measured.
Find Tool publishes general information, not professional advice. Power tools, mains electricity and workshop machinery are genuinely dangerous, and the safe settings, guards and procedures differ between models — always follow the manual and the markings on the tool in front of you rather than a general guide. Never remove or defeat a guard or safety feature. Anything involving fixed wiring, gas or structural work belongs to a qualified tradesperson. Wear the eye, ear and respiratory protection the task calls for.