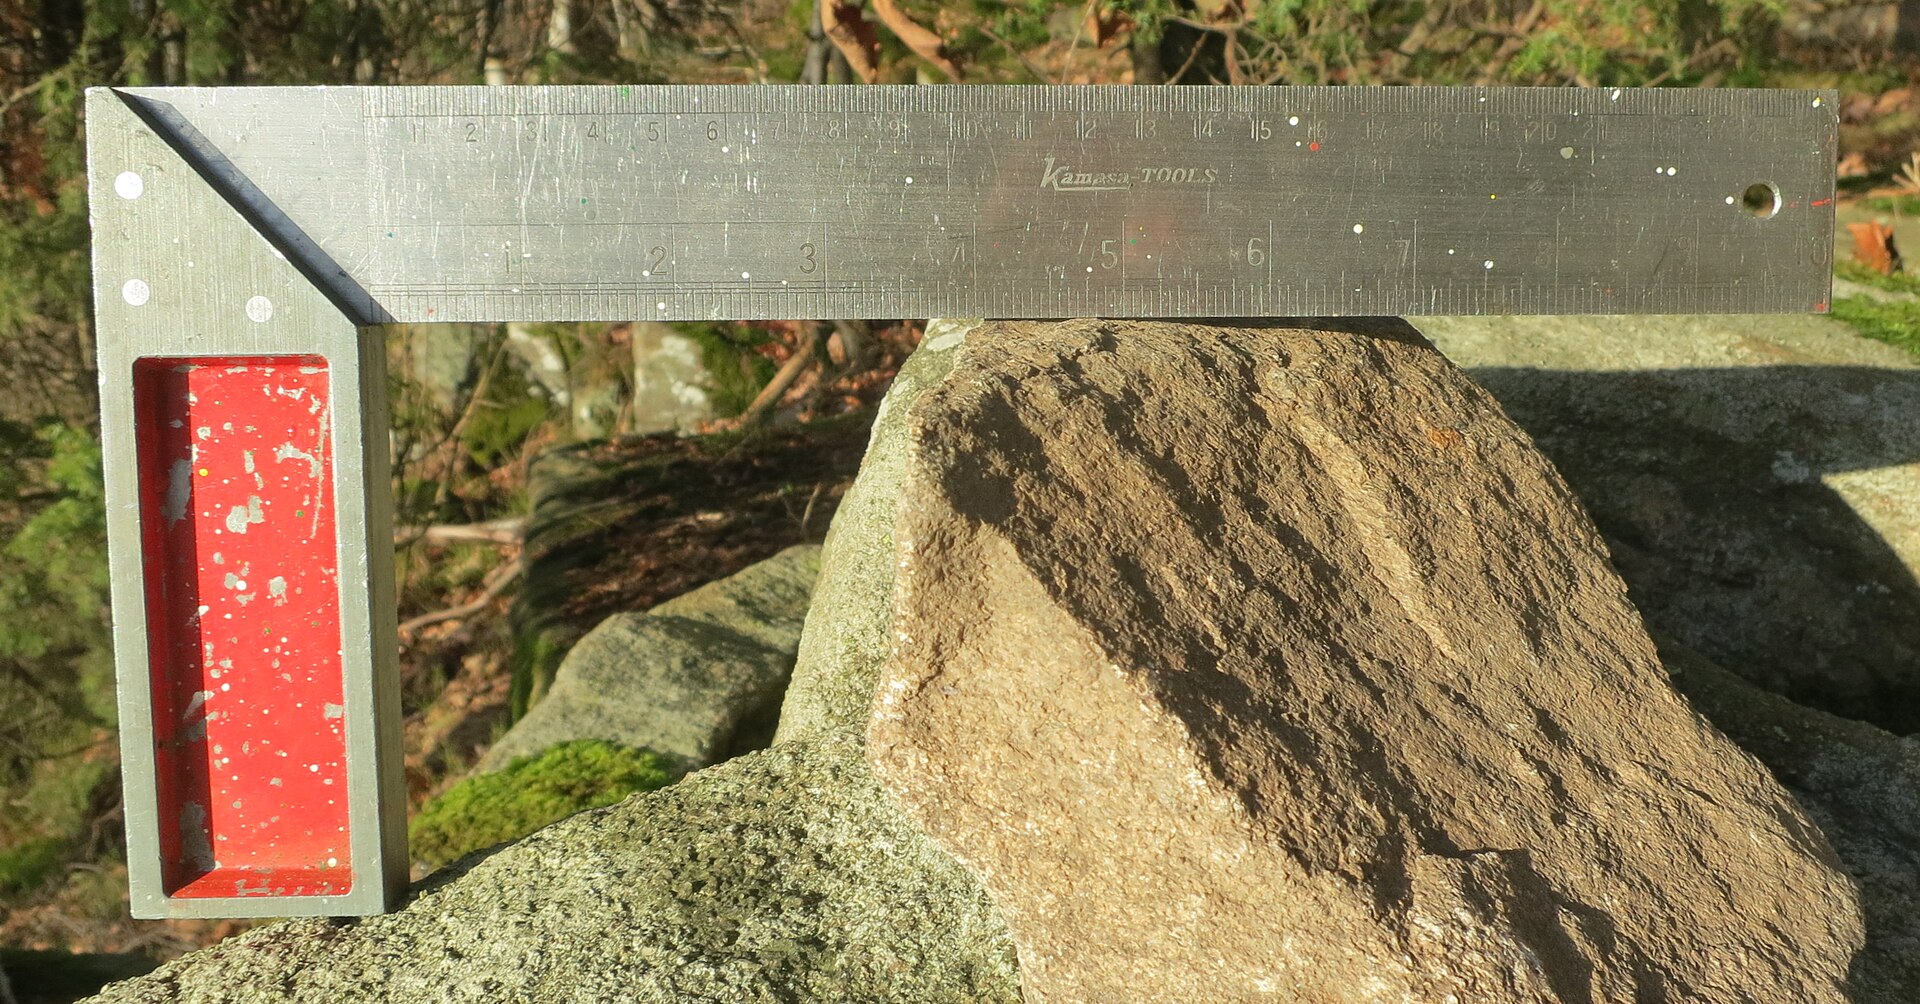
A try square is a hand tool for marking and checking 90° angles: a handle (the stock) held against an edge, with a fixed blade sticking out at right angles to it. You use it to mark a line square across timber or to check that a corner is truly square before you glue, screw or cut.
What does “try” mean in try square?
“Try” is an old woodworking term meaning to test or verify, not a brand name or a typo. A try square is literally the tool you use to “try” a corner — to see whether it is actually square, rather than just looking square.
The name goes back centuries, well before combination squares or digital angle gauges existed. It is still the simplest, most direct way to check a right angle by eye and by feel, and it remains a standard item in a hand tools kit for exactly that reason.
What is a try square actually used for?
A try square is used to mark lines square to an edge and to check that an existing corner, cut or joint is genuinely at 90°. It is a checking and marking tool, not a cutting tool — the blade guides a pencil or knife line, or your eye, but does not remove material itself.
Typical jobs include:
- Marking a line across a board before crosscutting it by hand or on a saw.
- Checking that a plane has squared up an edge relative to a face.
- Verifying a corner on a box, frame or drawer before glue-up.
- Setting up work on a bench or in a vice so a cut starts truly square.
Because it only does one job — 90° — a try square is simpler and generally more rigid than a combination square, which trades some of that rigidity for adjustability and extra functions. If a project needs mitres, depth checks or a sliding rule as well as square, that trade-off is worth reading about separately: see what a combination square is and why it gets used so much.
What are the parts of a try square called?
A try square has two main parts: the stock, which is the thicker handle you hold against the workpiece edge, and the blade, the thinner arm fixed at 90° to it. Some also have a small brass strip inlaid into the stock’s face, mainly to reduce wear where it rubs against the wood.
Traditional try squares are made with a wooden or metal stock and a steel blade riveted permanently in place — there is no adjustment. That fixed construction is part of what makes them dependable: there is no screw to loosen and throw the angle out over time, unlike some adjustable squares.
How do you use a try square to mark a line?
Hold the stock firmly against a straight, planed edge of the workpiece with the blade lying flat across the face. Run a pencil or marking knife along the outer edge of the blade to draw a line that is square to that edge.
A few things make this reliable in practice:
- Start from an edge you already know is straight and true — a square only checks against the reference edge it is pressed against.
- Keep the stock pressed firmly against the edge for the whole stroke; if it lifts or rocks, the line will drift.
- A knife line is usually more accurate than pencil for joinery work, because it defines a single crisp edge rather than the width of a pencil mark.
For repeated identical marks — several dado shoulders or tenon lines, for example — a marking gauge can be a better companion tool than re-measuring each time with a square and rule; see why a marking gauge earns its place next to a pencil.

How do you check that a try square is actually square?
The standard test is to mark a line against the square, then flip the square over and compare the same line from the other side. Any gap between the blade and the original line shows the square is out, and shows it clearly rather than by guesswork.
Step by step:
- Choose a board with one edge you know is straight, ideally planed or checked with a straightedge.
- Hold the square’s stock against that edge and draw a fine pencil or knife line across the face using the blade.
- Flip the square over so the stock is against the same edge but the blade now faces the opposite way, lined up along the same mark.
- Look closely at where the blade meets the line. If the square is true, the blade sits exactly on the line in both positions.
If the blade diverges from the line — even by a hair — the square is not reading 90° in at least one of the two orientations, and the error is doubled by the flip, which is what makes this test sensitive enough to catch small faults.
What does it mean if there’s a gap when you flip the square?
A gap on one side after flipping means the square’s blade is not truly perpendicular to its stock — it is reading slightly more or slightly less than 90°. The size of the gap over the length of the blade gives a rough sense of how far out it is, though it does not tell you the actual angle in degrees.
A small, consistent gap across several tests on different boards points to the square itself. A gap that changes depending on which edge or which board is used more likely points to the reference edge not being straight, rather than the square being faulty.
It is worth testing against more than one edge before concluding a square is wrong — a single warped or out-of-true board can make a perfectly good square look inaccurate.
Can a try square be adjusted if it’s out of square?
Most try squares cannot be adjusted — the blade is fixed to the stock, usually riveted, so there is no screw or mechanism to correct an error. A square that fails the flip test consistently generally needs replacing rather than repairing.
This is a deliberate trade-off. A fixed blade means nothing can work loose or drift out of setting over years of use, which is exactly why traditional try squares are trusted for checking work. The downside is that if the tool is dropped, bent, or was manufactured slightly out of true, there is no way to bring it back to 90° at home with any confidence.
Small combination squares, by contrast, have an adjustable, lockable blade — useful for other reasons, but also a part that can be knocked out of alignment and needs the same flip-test check from time to time. That trade-off between fixed reliability and adjustable versatility is one of the main things to weigh up when comparing squares side by side; see the comparisons section for more on how tools like this stack up against each other.
How often should a try square be checked?
It’s worth checking a try square before starting any project where square corners matter, and definitely after it has been dropped, knocked, or stored loosely with other metal tools. A quick flip test takes a minute and prevents an entire batch of joints being cut slightly out.
Squares that live loose in a toolbox, rattling against chisels and clamps, are more likely to take a knock to the blade than ones stored flat or hung on a rack. A tidy layout — hooks, a shadow board or a shallow drawer with dividers — reduces this kind of accidental damage and is a habit worth building alongside actually using the tool.
What should you look for when buying a try square?
When comparing try squares, look at how rigid the joint between stock and blade feels, how cleanly the blade edge is finished, and whether the maker states it has been checked for squareness — rather than choosing on price or brand alone. Since the blade is fixed, accuracy at the point of manufacture matters more than with an adjustable square.
Points worth comparing:
- Blade length — longer blades amplify small errors more clearly during the flip test and suit larger work; shorter ones are easier to use in tight spaces on small joinery.
- Material — steel blades resist wear better than softer metals; stock material (wood, cast metal, or a combination) affects weight and feel rather than accuracy.
- Finish and edges — a clean, unmarred blade edge with no burrs gives a truer marking line.
- How the maker states accuracy — some describe tolerance to a recognised standard rather than a vague claim; that is a better sign than marketing language with no reference point.
None of this replaces testing the actual square in hand with the flip method above — a stated tolerance is only useful if the specific tool has not been knocked out of true since it left the factory. For a broader look at how to compare specifications across different tool categories without chasing marketing numbers, see the buying tools guide.
Does a try square need any PPE to use safely?
A try square itself poses minimal hazard — it has no moving parts and does not cut. However, it is almost always used alongside saws, chisels or planes, and the PPE relevant to that companion task (eye protection for chip-throwing cuts, hearing protection around powered saws, a dust mask for MDF or hardwood dust) still applies during the marking and checking stage of the same job.
For a fuller picture of what protective equipment suits different workshop tasks, the safety and PPE section covers this by task rather than by tool.
Where does a try square fit alongside other measuring tools?
A try square is one of several layout tools that a home workshop typically ends up owning alongside a tape measure, a combination square and a marking gauge — each suited to slightly different jobs. Understanding what each one actually measures, rather than treating them as interchangeable, avoids compounding small errors across a project.
Related reading that covers nearby tools and concepts:
- What accuracy actually means on a tape measure
- Why the hook on a tape measure is deliberately loose
- Why a combination square is such a used bench tool
For a broader view of how measuring and layout tools work together, the measuring and layout archive and the general tool guide hub are good starting points. For the wider range of hand tools a modest home workshop tends to accumulate, browse the hand tools archive.
Find Tool publishes general information, not professional advice. Power tools, mains electricity and workshop machinery are genuinely dangerous, and the safe settings, guards and procedures differ between models — always follow the manual and the markings on the tool in front of you rather than a general guide. Never remove or defeat a guard or safety feature. Anything involving fixed wiring, gas or structural work belongs to a qualified tradesperson. Wear the eye, ear and respiratory protection the task calls for.
Featured image: Photo by R. Henrik Nilsson, source, CC BY 4.0