A hedge trimmer’s blade gap is the small space between the moving cutting blade and the fixed blade beneath it. Too wide, and stems get pushed and torn instead of sliced, and the motor strains. Too tight, and the blades bind, overheat, or wear out fast. The gap is a running health check on the tool.
What actually is the “blade gap”?
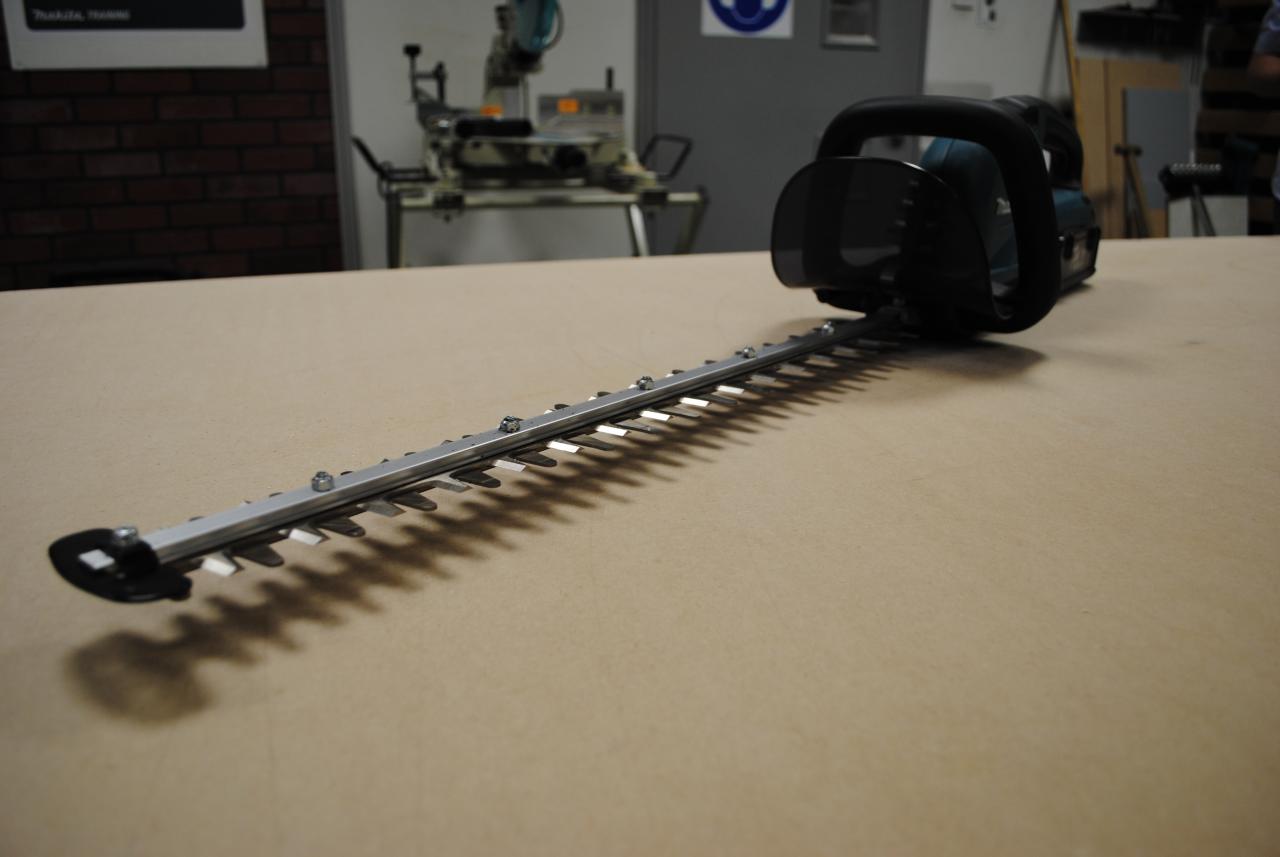
Most hedge trimmers cut with two long blades that sit face to face, one fixed and one driven back and forth by the motor. The gap is the tiny clearance between them along their length, not a single fixed number but a consistent, even spacing that lets the blades pass each other without grinding metal-on-metal while still shearing through twigs and leaves cleanly.
Think of it the same way as a pair of scissors that have gone slightly loose at the pivot: the blades still move, but instead of cutting they start to fold the material between them. A hedge trimmer with the wrong gap does the same thing to a hedge, just at speed and along a much longer edge.
Why does the gap affect the quality of the cut?
The gap decides whether the blades shear stems cleanly or mash and drag them. A correctly set gap lets both edges meet with just enough clearance to slide smoothly, so each stroke slices through growth instead of squashing it against the blade.
When that clearance is right, cut ends look clean and slightly angled, the way a well-sharpened pair of secateurs leaves a stem. When it drifts out of range, the trimmer starts to leave ragged, bruised, or half-severed stems, and the motor has to work harder to force material through rather than cut it. The difference between a shear and a saw-tooth pruning cut is discussed in more detail in our look at secateurs, loppers and pruning saws, which covers the same shearing principle on a smaller scale.
What happens when the gap is too wide?
A gap that’s too wide lets stems slip between the blades instead of being sheared. The trimmer chews rather than cuts, jams more often on thicker growth, and leaves torn, ragged edges on the hedge that brown off faster than a clean cut.
- Twigs and thin branches get pushed aside rather than severed
- The motor bogs down as it tries to force material through
- Cut surfaces look shredded rather than sliced
- Jams become more frequent, especially in thicker or woodier stems
A wide gap is one of the most common causes of a hedge trimmer that “used to cut fine” and now seems to struggle, even though nothing else about the tool has changed.
What happens when the gap is too tight?
A gap that’s too tight causes the blades to rub against each other rather than glide. That extra friction shows up as heat, faster blunting, higher current draw on the motor, and in some cases enough resistance to stall a smaller trimmer mid-stroke.
Persistent overheating in the cutting head is a sign worth taking seriously, not just for the blades but for the motor and gearbox behind them. If a tool keeps running hot or the motor labours even on light growth, that pattern lines up with what’s described in our guide to what a blunt blade does to a motor, and it’s worth checking the gap before assuming the motor itself has failed.
How does the gap change over time?
The gap widens naturally as the blades wear from normal use. Every pass removes a tiny amount of metal from the cutting edges, and the fasteners holding the blades together can loosen slightly with vibration, both of which gradually increase the clearance between the edges.
Impacts matter too. Clipping wire in an old fence line, catching a stone hidden in the foliage, or forcing the trimmer through a branch that’s really a job for loppers can knock the gap out of alignment in a single hit rather than gradually. Corrosion plays a role as well — a light film of rust on the blade faces changes how smoothly they slide past each other, which is covered in our piece on what rust actually does to a tool.

How is blade gap adjusted?
Blade gap is adjusted using the screws, shims or spacers the manufacturer built into that specific model, following the sequence and tolerances given in its manual. There is no universal setting: the correct clearance, the tools needed, and how often it should be checked are all specific to the make and model in hand.
What’s consistent across trimmers is the general process:
- The tool is switched off, unplugged or has its battery removed before any adjustment is made
- Adjustment screws or fasteners are loosened only as far as the manual describes
- The gap is set using whatever method the manufacturer specifies, whether that’s a feeler gauge, a printed reference, or simply tightening to a described feel
- Fasteners are retightened evenly, and the blades are checked for smooth, unforced movement before the tool is used again
Because the correct clearance, the recommended checking interval and the fastener specifications all vary by model, the manual is the only reliable source for the actual numbers. Guessing a setting from a different trimmer, an online forum, or “close enough” is how blades get either seized or dangerously loose. For a broader look at how mechanical adjustments like this fit into keeping tools running well, the tool care archive covers related maintenance topics, and the tool guide hub explains how these adjustable parts function across different power tools.
What PPE does adjusting or using a hedge trimmer call for?
Using or adjusting a hedge trimmer calls for eye protection against flying debris and blade fragments, ear protection during any sustained cutting session, and cut-resistant gloves when handling the blade edges directly, even with the tool switched off.
Eye protection matters because hedges routinely hide loose twigs, grit, and small stones that get flung back toward the operator once the blades meet them. What actually makes glasses suitable for that kind of debris, rather than just “safety-looking”, is explained in what an eye protection rating actually means.
Sustained trimming, particularly with a petrol model, produces the kind of continuous loud noise that causes cumulative hearing damage without a single obviously “too loud” moment. The threshold for when hearing protection stops being optional is covered in what noise level makes ear protection necessary. Broader PPE guidance for garden and workshop tools sits in the safety & PPE archive, and general outdoor tool maintenance is covered in garden & outdoor.
Blades should always be treated as sharp even when the trimmer is off and disconnected from its power source. Hands should stay clear of the cutting edges during any check, adjustment or cleaning, and the trimmer should be fully powered down before anyone reaches near the blade at all.
When is it time to call in a professional or replace the blades?
If the blade gap keeps drifting shortly after adjustment, if the blades show chips, cracks or heavy wear along the edge, or if adjustment isn’t described clearly enough in the manual to do confidently, replacement blades or a service visit are the safer route rather than repeated home adjustment.
A trimmer that consistently jams, overheats, or cuts poorly straight after a correct gap adjustment may have a deeper issue, such as a bent blade, a worn drive mechanism, or a gearbox problem that clearance adjustment alone won’t fix. In that case, comparing repair cost against replacement is a reasonable next question, and our guide on when a tool is genuinely worth repairing sets out how to think that decision through. For anyone weighing up a new trimmer instead, the buying tools hub explains how to compare specifications without relying on marketing figures that don’t reflect real cutting performance.
Find Tool publishes general information, not professional advice. Power tools, mains electricity and workshop machinery are genuinely dangerous, and the safe settings, guards and procedures differ between models — always follow the manual and the markings on the tool in front of you rather than a general guide. Never remove or defeat a guard or safety feature. Anything involving fixed wiring, gas or structural work belongs to a qualified tradesperson. Wear the eye, ear and respiratory protection the task calls for.
Featured image: Photo by Mark Hunter, source, CC BY 2.0