Clamp types differ mainly in three things: how much force they apply, how evenly that force spreads across a joint, and how fast they go on and off. An F-clamp favours reach and speed, a pipe clamp favours long glue-ups, a C-clamp favours raw squeeze in a small footprint, and a parallel-jaw clamp favours even pressure without racking the joint out of true.
What actually separates one clamp type from another?
Every clamp does the same basic job: it converts a screw thread, a lever, a spring or a ratchet into steady pressure between two jaws. The differences that matter in practice come down to four things.
- Throat depth — how far the jaw reaches in from the edge of the material.
- Jaw travel — how wide an opening the clamp can span.
- Jaw geometry — whether the faces stay parallel under load or tend to tip and rack.
- Speed of operation — how quickly it can be applied, adjusted and released with one hand.
Choosing a clamp type is really choosing which of those four you need most for a given job, because no single design does all of them well. For a broader look at how to weigh up specifications on any hand tool before buying, the buying tools guide covers the general approach.
What is an F-clamp (bar clamp) good for?
An F-clamp uses a fixed bar with a sliding lower jaw and a screw-operated upper jaw shaped like the letter F. It is the general-purpose clamp of most home workshops because it is fast to reposition and comes in a wide range of bar lengths.
The trade-off is jaw depth: the throat is usually shallow, so an F-clamp is better suited to edge gluing, jig assembly and holding a workpiece to a bench than to reaching deep into the middle of a wide panel. Because the bar is rigid, several F-clamps lined up along a glued joint apply pressure at fairly even intervals, which is exactly what a long grain glue-up needs.
Cheaper F-clamps often have some slop in the sliding jaw, which lets it tilt slightly under pressure. That is usually not a problem for rough clamping, but it can matter on fine joinery where a square edge has to stay square while the glue sets.
How is a pipe clamp different from an F-clamp?
A pipe clamp uses a length of ordinary steel or black pipe as the bar, with clamp heads that slide onto either end. The main advantage is length for very little cost — a long panel glue-up needs long clamps, and buying that length in a solid cast bar gets heavy and expensive fast.
Pipe clamps are heavier per unit of clamping force than a purpose-made bar clamp, and the pipe itself can flex slightly under heavy pressure over a long span, which is worth checking on wide glue-ups. They are also modular: the same heads can be moved onto a shorter or longer length of pipe as the job demands, which suits anyone assembling a workshop on a budget rather than buying a full set of fixed-length clamps.
What do quick-release or trigger clamps trade away?
Trigger clamps (sometimes called one-handed clamps) use a ratcheting bar and a squeeze-trigger mechanism instead of a screw. They go on and come off in seconds and can be operated one-handed, which is genuinely useful when the other hand is holding a workpiece in position.
What they give up is maximum clamping force. The ratchet mechanism generally cannot generate the same squeeze as a well-turned screw clamp of similar size, and cheaper versions can creep slightly under sustained pressure as the ratchet teeth settle. For quick assembly, drilling jigs, or holding something steady for a moment, that is rarely an issue. For a structural glue joint under full clamping pressure overnight, a screw-driven clamp is usually the more dependable choice.
When do spring clamps make sense?
A spring clamp works like an oversized clothes peg: squeeze the handles, the jaws open, release and the spring does the holding. They apply light, consistent pressure very quickly and are ideal for holding small parts, jigs, cauls or a piece of protective wood pad in place while a stronger clamp does the main job.
Their limitation is force. Spring clamps are not meant to be the primary clamping method on a structural joint — they simply do not generate enough pressure for that role. Their real strength is speed on light tasks: tacking a template to a board, holding a stop block, or keeping two thin veneers aligned while contact adhesive sets.
What is a C-clamp (G-clamp) still good for?
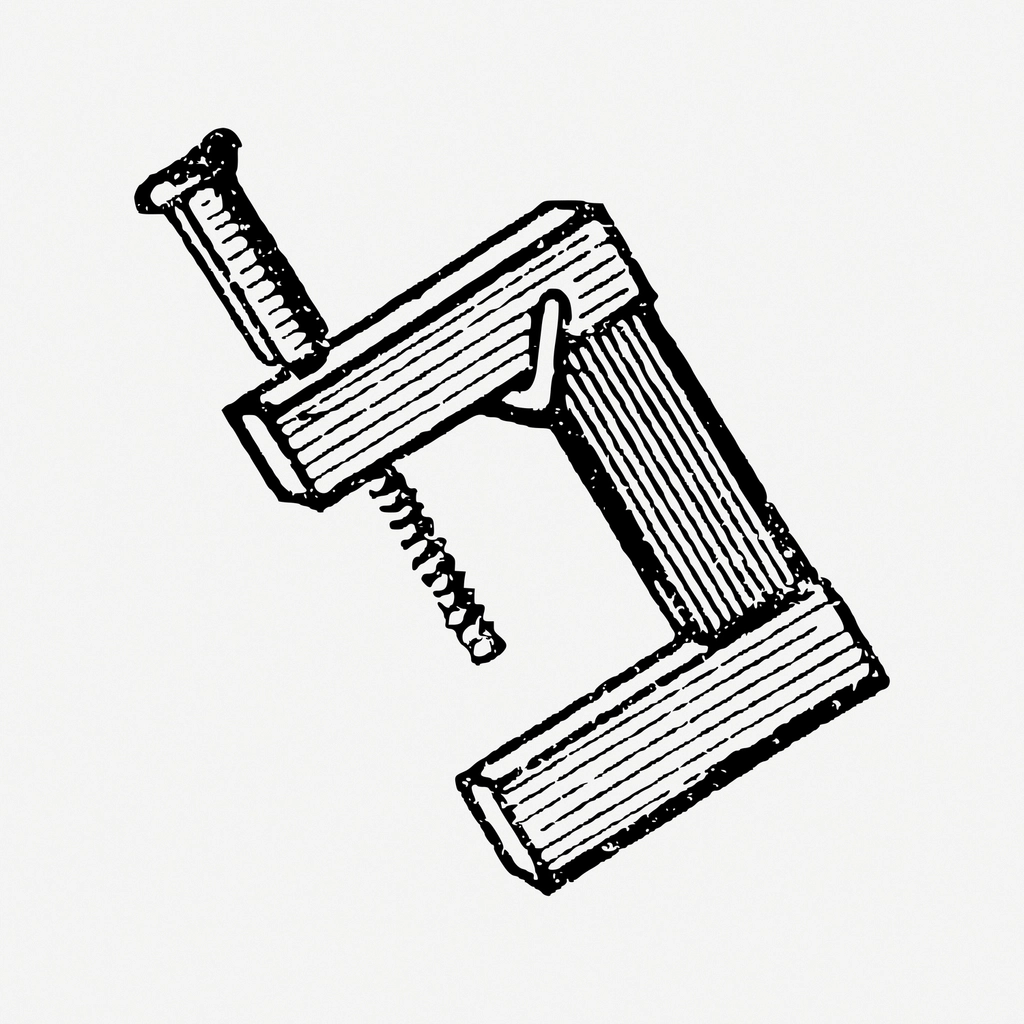
A C-clamp (also called a G-clamp because of its shape) is a solid, single-piece frame with a screw threaded through one end. It is compact, extremely strong for its size, and cheap, which makes it a good choice for metalworking, welding jigs, and any job where a small, rigid clamp needs to hold firmly in a tight space.
The trade-off is reach and speed. The frame limits both throat depth and jaw opening, and turning the screw by hand takes longer than squeezing a trigger clamp. C-clamps also concentrate pressure at a single point unless a pad is used, which is worth remembering on softer timber where a metal jaw can leave a visible dent.
What makes a parallel-jaw clamp different?
A parallel-jaw clamp is built so both jaw faces stay flat and parallel to each other as the clamp closes, rather than pivoting slightly like a standard screw clamp can. That matters most on cabinet doors, drawer boxes and anything where a joint has to come out of the clamps still square, because a jaw that racks under pressure can twist a glued joint out of true before it sets.
Parallel-jaw clamps are usually heavier and cost more than an equivalent F-clamp, and the wider jaw faces also spread pressure over a larger area, which reduces the chance of denting the workpiece. For fine joinery and cabinet work, that combination of squareness and even pressure is often worth the extra bulk and price.
What do toggle clamps and corner clamps actually do?
Toggle clamps are lever-operated clamps that bolt permanently to a jig or fixture and snap shut with a single motion. They are built for repeated use holding the same size of workpiece in the same position, which is exactly the situation a home workshop jig for repetitive cuts creates. They are not really general-purpose clamps — they are a fixture component.
Corner clamps (sometimes called mitre clamps) hold two pieces at a right angle while glue sets or while a fastener is driven, which is useful for picture frames, small boxes and light frame-and-panel work. They only work at the angle they are built for, so they solve one specific problem rather than replacing a general clamp.
How much clamping force do you actually need?
The honest answer is: enough to close the joint fully and squeeze out excess glue evenly, and no more. Overtightening a clamp does not make a joint stronger — past a certain point it can starve the joint of glue, bow thin panels, or crush softer timber under the jaw faces. Manufacturers rate their clamps for maximum force, but that figure describes the clamp, not the correct setting for a given joint, so it is worth treating it as a ceiling rather than a target.
A dry run — assembling the joint with clamps but no glue — is the simplest way to check that a joint closes properly and that clamps are positioned where they are actually needed, before glue makes changes difficult. This is the same logic that applies to checking a workpiece is properly supported before cutting; the article on what kickback actually is and what causes it covers why a workpiece that shifts mid-cut is dangerous, and secure clamping is part of preventing that.
Which clamp type suits which job?
Rather than one “best” clamp, most home workshops end up with a mix, because each type covers a different weakness in the others.
- Edge gluing a panel: several F-clamps or pipe clamps spaced along the joint.
- Cabinet doors and drawer boxes: parallel-jaw clamps, for squareness under pressure.
- Quick jig assembly or one-handed holding: trigger clamps, for speed over raw force.
- Small parts, templates and pads: spring clamps, for fast light-duty holding.
- Metalwork and tight spaces: C-clamps, for compact strength.
- Repetitive jig work: toggle clamps, mounted permanently to the fixture.
When comparing clamps for purchase, jaw opening and bar length matter more than headline force figures for most woodworking tasks, since a clamp that cannot reach across the joint is no use at all. The buying guides section has more on separating a genuinely useful specification from a marketing number.
What PPE and habits matter when clamping?
Clamping itself is a low-hazard task, but it sits right before or after operations that are not. Eye protection is worth wearing whenever clamping is followed immediately by drilling, routing or sawing nearby, since offcuts and clamp pads can be knocked loose. Fingers pinched between a jaw and a workpiece are the most common clamp injury — keeping hands clear of the closing jaw, especially with fast-acting trigger and spring clamps, avoids most of them.
A stable workbench or a vice with adequate jaw width makes clamping far more predictable, since a workpiece that can shift on the bench undoes whatever the clamp is trying to hold. For a wider look at hand tools and how they’re actually used day to day, the hand tools archive and the general tool guide hub are good starting points, and a dedicated spot to store clamps by type — rather than tangled in a drawer — is covered in the workshop storage section.
Find Tool publishes general information, not professional advice. Power tools, mains electricity and workshop machinery are genuinely dangerous, and the safe settings, guards and procedures differ between models — always follow the manual and the markings on the tool in front of you rather than a general guide. Never remove or defeat a guard or safety feature. Anything involving fixed wiring, gas or structural work belongs to a qualified tradesperson. Wear the eye, ear and respiratory protection the task calls for.