A depth gauge measures how deep a hole, recess, groove or step is, rather than how wide or long it is. A flat base sits on the surface of the workpiece while a thin rod or blade slides down inside the feature until it touches bottom, and the amount the rod has moved gives the depth reading.
It sounds like a small distinction from measuring length or width, but depth is its own problem. A hole can look the right size at the mouth and still be too shallow, too deep, or uneven across its width — and none of that shows up on a ruler laid across the top.
What does a depth gauge actually measure?
A depth gauge measures the distance from a reference surface down to the bottom of a hole, slot, step or recess. The base plate defines the reference surface, and the sliding rod or blade travels perpendicular to it until it meets the bottom of the feature being checked.
Typical jobs include:
- Checking how deep a drilled hole goes before fitting a dowel, screw or bolt
- Confirming a mortise, rebate or dado has been cut to the intended depth
- Measuring the depth of a counterbore or spot-face so a fastener head sits flush
- Checking the depth of a step or shoulder machined into a part
- Verifying tyre tread depth, a use most drivers encounter without ever calling it a depth gauge
In every case, the question being answered is the same: how far down does this feature actually go, measured from a flat surface the tool can register against.
What are the different types of depth gauge?
The main types differ in how the reading is displayed and how precisely they can measure, not in what they physically do.
- Rule-and-base depth gauge — a simple sliding rule with a crossbar. Adequate for rough carpentry checks, not for fine tolerance work.
- Vernier depth gauge — works like a vernier caliper turned on its side, reading against a scale. Common in workshops that already use a vernier caliper for other measurements.
- Dial depth gauge — a dial indicator mounted on a base, giving a quick visual reading without reading a scale each time.
- Digital depth gauge — an electronic display, often the easiest to read accurately and quickly, though it depends on a battery and a properly zeroed reading.
- Depth rod on a caliper — many vernier and digital calipers include a thin depth rod that extends from the end of the tool, which covers depth-checking without buying a separate instrument.
For anyone unfamiliar with how a vernier scale is read in the first place, it helps to look at how a vernier caliper is read, since a vernier depth gauge uses the identical scale logic, just applied to a different axis of measurement.
How do you read a depth gauge?
The base is placed flat across the opening of the hole or recess, straddling it so the base does not tip or rock. The rod is then lowered until it contacts the bottom, and the reading is taken from the scale, dial or display at that point.
A few habits matter more than the type of gauge used:
- Keep the base square to the surface — a tilted base gives a false, usually longer, reading
- Let the rod reach the actual bottom, not a chip or a burr sitting in the hole
- Take the reading in more than one spot if the bottom of the feature might be uneven, such as a hand-cut mortise
- Zero a digital or dial gauge on a known flat surface before relying on the reading, the same discipline used before trusting any precision instrument
These are the same fundamentals covered for other measuring tools in the measuring and precision archive — a good reading depends as much on technique as on the instrument.

Where does a depth gauge actually get used?
In woodworking, a depth gauge is most often reached for when a joint depends on a hole or slot being a specific depth rather than a specific width. Dowel holes, mortises, hinge recesses and stopped grooves all fail if they are too shallow or cut through by mistake.
In metalworking, depth gauges check counterbores, spot-faces and stepped bores where a shoulder needs to sit at a known distance from a datum surface — features that matter for how a bearing, bolt head or mating part will seat.
Around the house, the same principle shows up in checking tyre tread depth, and in confirming that a hole drilled for a wall anchor or masonry fixing goes deep enough for the fixing to grip properly.
None of this replaces the machine’s own depth stop or scale for setting up a cut in the first place — it confirms, after the fact, that the setting actually delivered what was intended.
How is a depth gauge different from a depth stop?
A depth stop is a mechanical limit built into a tool — a collar on a drill bit, an adjustable rod on a drill press, or a scale on a router base — that controls how far the cutter is allowed to travel. A depth gauge is a separate measuring instrument used afterward to check what depth was actually achieved.
They work together rather than replacing one another. The depth stop is set using the tool’s own scale and manual, following the manufacturer’s markings for that specific model. The depth gauge is then used to verify the result once the cut or hole is made, which catches drift, wear, or a stop that has slipped.
Depth-of-cut settings, stop positions and any related guard adjustments are model-specific, so the tool’s own manual is the correct source for how to set them — this article only explains what the setting controls, not a number to dial in.
Is it safe to check depth while a machine is running?
No. A depth gauge is a hand-held measuring tool, not something designed to be brought near a spinning bit, blade or cutter. The workpiece and cutter should be fully stopped, and on corded machines the tool unplugged, before a gauge, finger or anything else goes near the cut.
This matters most on drill presses, routers and router tables, where the temptation is to “just check quickly” between passes. Any guard, riving knife or interlock fitted to the machine is there to manage exactly this kind of contact risk, and it should stay in place while the reading is taken with the machine off, not worked around while it runs.
Checking a mortise or recess in MDF or dense hardwood also throws up fine dust while the cut is being made, which is worth planning for with proper extraction and a suitable respirator rather than relying on the depth check itself for protection. Eye protection is worth keeping on through this stage too, since dust and chips can still be dislodged while handling a freshly cut part.
What should you compare when buying a depth gauge?
The main trade-offs are readability, resolution, and how the tool copes with the specific shapes it will be used on.
- Scale type — vernier scales take longer to read accurately but need no battery; digital displays are faster to read but depend on power and periodic recalibration
- Base width and shape — a wide base is more stable across a large opening, but a narrow or slotted base is needed to reach into tight grooves or small-diameter holes
- Rod reach — deeper features need a longer rod travel; check this against the deepest feature actually being measured, not just the shallowest
- Build quality — a gauge that flexes or a base that isn’t truly flat will quietly introduce error regardless of how fine the scale is
Whether it makes sense to combine this with an existing caliper’s depth rod, or to buy a dedicated gauge, is really a question of how often deep or narrow features come up in the work being done — the same reasoning covered more generally in the buying tools guide.
What can throw off a depth gauge reading?
A few common mistakes account for most bad readings, and they are worth checking before assuming the tool itself is at fault.
- Debris, sawdust or swarf sitting at the bottom of the hole, making it read shallower than it is
- A rocking or tilted base, which reads longer than the true depth
- A rod that has not been zeroed against a flat reference before use
- Measuring an uneven bottom in only one spot and assuming it represents the whole feature
These are the same sources of error that affect other precision tools, and the underlying idea — that accuracy, precision and resolution are three different things — is worth understanding properly rather than assumed. It’s covered in more depth in this explainer on accuracy, precision and resolution, and it applies just as much to a depth gauge as to a micrometer or dial indicator.
How does a depth gauge fit alongside other measuring tools?
A depth gauge answers one specific question — how deep — while other tools in the same drawer answer different ones. A machinist’s square checks that surfaces are truly at right angles, a straight edge checks flatness, and a dial indicator tracks small movements rather than a static depth.
None of these substitute for one another, and a workshop that does much joinery or metalwork typically ends up with several of them. Broader context on how these instruments relate, and how power tools and hand tools work more generally, is covered in the tool guide and the hand tools archive.
Find Tool publishes general information, not professional advice. Power tools, mains electricity and workshop machinery are genuinely dangerous, and the safe settings, guards and procedures differ between models — always follow the manual and the markings on the tool in front of you rather than a general guide. Never remove or defeat a guard or safety feature. Anything involving fixed wiring, gas or structural work belongs to a qualified tradesperson. Wear the eye, ear and respiratory protection the task calls for.
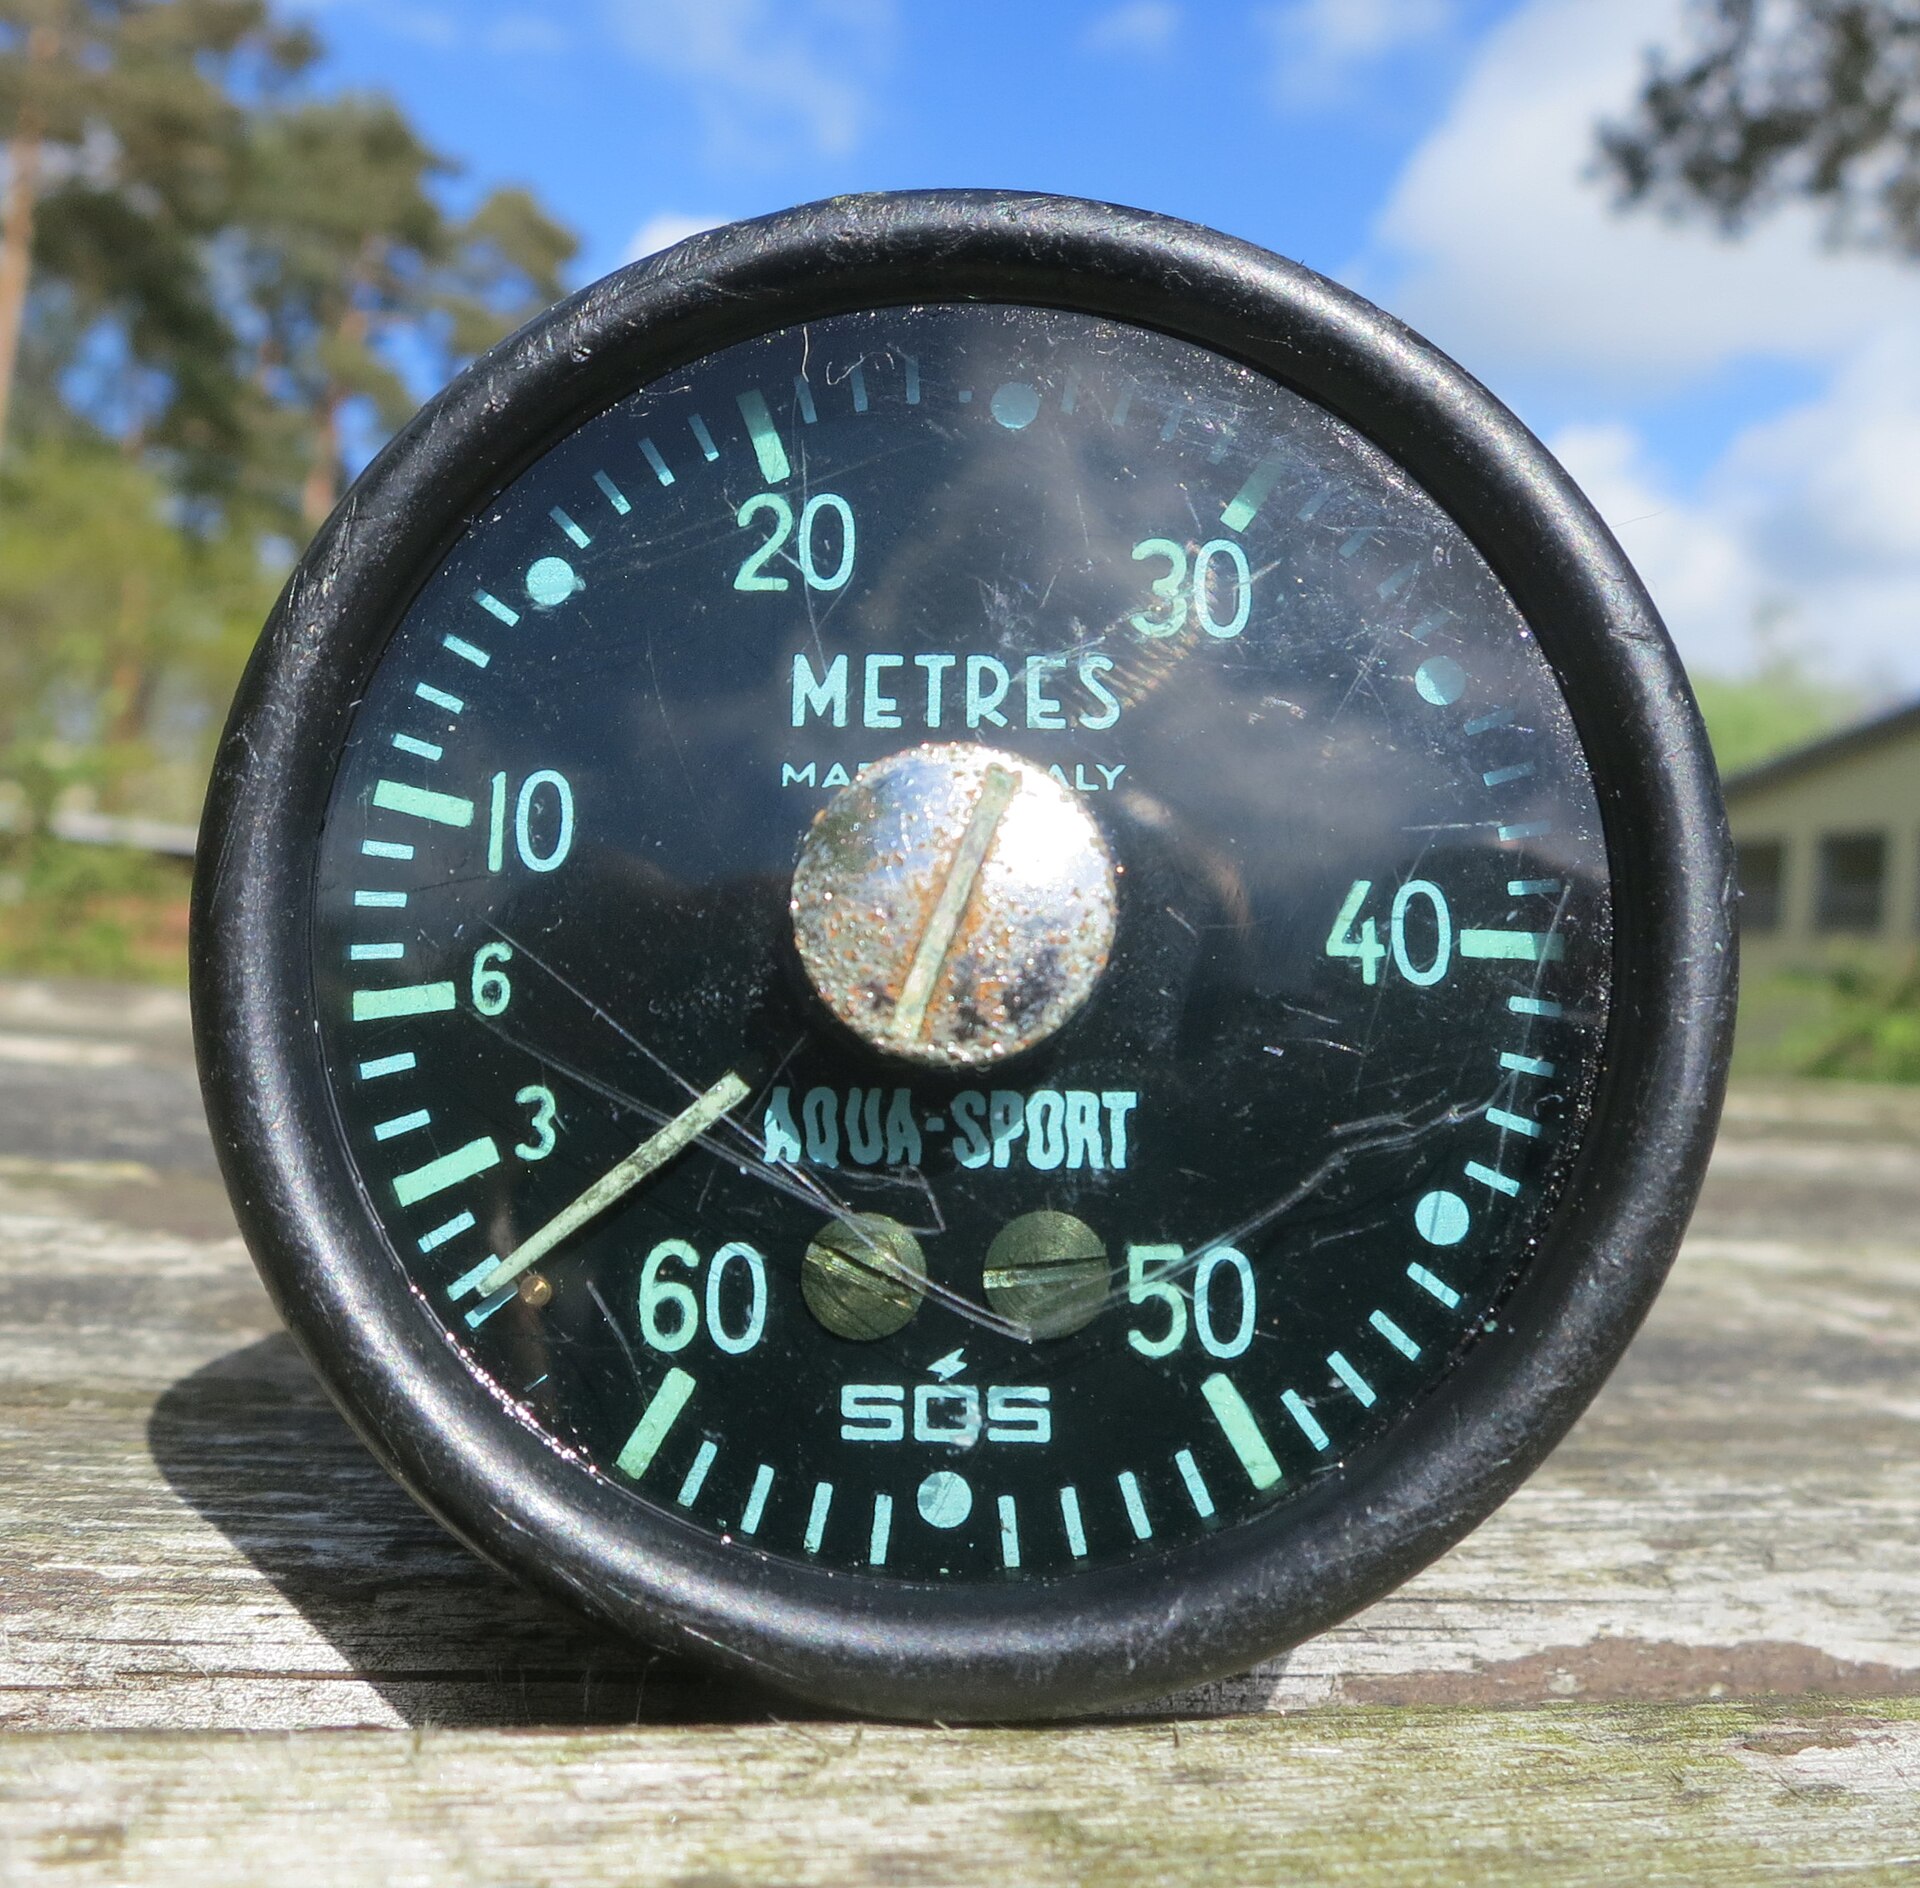
Featured image: Photo by R. Henrik Nilsson, source, CC BY 4.0