A random orbital sander moves its round pad in two ways at once: it spins in a circle and it wobbles off-centre, so no single point on the disc ever travels the same path twice. That randomness is what stops it leaving the curved swirl marks other sanders create, which is why it’s the sander most people reach for first.
What does “random orbital” actually mean?
It describes the motion of the pad, not the shape of the sander itself. Most sanders that aren’t random orbital move their abrasive back and forth in a fixed, repeating pattern. A random orbital sander deliberately breaks that pattern up.
Inside the tool, the pad spins on a bearing that itself sits off-centre on the drive shaft. The motor turns the shaft, the shaft drives the pad in a circle, and the off-centre mounting adds a second, smaller circular wobble on top of that spin. The two motions overlap in a way that never repeats exactly, so every pass of abrasive crosses the wood grain from a slightly different angle.
The practical result is a scratch pattern that looks random under a magnifying glass instead of a set of parallel or curved lines. On a finished surface, random scratches are far less visible than a repeating pattern, especially once stain or finish goes on.
How is that different from a belt sander or an orbital finishing sander?
A belt sander moves abrasive in one straight direction only, which removes material fast but leaves visible straight-line scratches if used across the grain. A basic orbital (sometimes called a “quarter-sheet” or “sheet”) sander moves its pad in small circles that all follow the same fixed loop, which can leave faint circular swirls, particularly on softwood or under a glossy finish.
A random orbital sander sits between the two in terms of stock removal, but its finish quality is generally the best of the three for general work, because the wobble breaks up the repeating pattern that causes visible swirls.
- Belt sander: fastest at removing material, most likely to leave visible straight scratches or dig in in one direction.
- Sheet/orbital sander: gentler, cheaper, but can leave faint circular swirl marks under some finishes.
- Random orbital sander: a middle ground on speed, with a finish that hides machine marks better than either of the above.
For a sense of where other cutting tools fit alongside sanding in a general workshop, the circular saw comparison and jigsaw guide cover similar trade-offs between speed and finish quality.
Why has it become the “default” sander for home workshops?
Because it copes reasonably well with almost every common sanding job, without excelling narrowly at only one of them. Most home projects need a sander that is forgiving, fast enough, and unlikely to leave marks a beginner will only notice after finishing.
A round pad also means the sander can be rotated in the hand without changing how it cuts, unlike a sheet sander whose rectangular pad has a defined front and back. That makes it easier to work into corners at different angles, follow curved edges, or work along grain that changes direction, all without swapping tools.
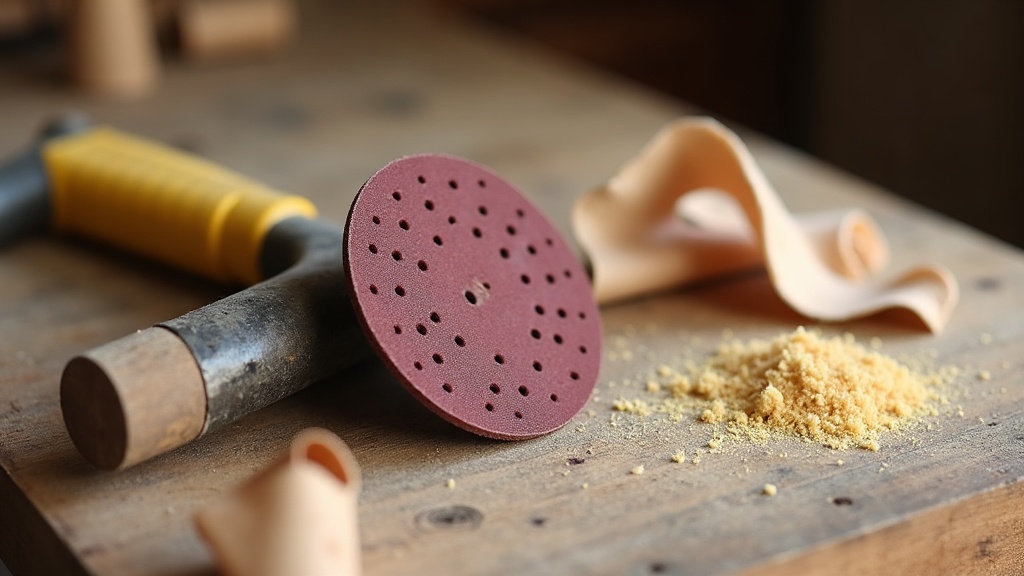
Disc-based abrasive, usually attached with a hook-and-loop backing, is also quick to change. A worn disc peels off and a new one presses on in seconds, with no clamping mechanism to fiddle with, which matters when a project needs several grits in sequence.
What size and power should a home workshop actually look for?
Pad diameter, orbit size and motor power all affect how the sander behaves, but the right combination depends on the work planned rather than a single “best” spec. Compare these features against the jobs actually intended, not against a headline number.
Larger pads cover more area per pass, useful for flat panels and tabletops, but are harder to control on narrow or shaped work. Smaller pads are more manoeuvrable for edges, mouldings and tight corners but take longer on large flat surfaces.
The size of the orbit — how far the pad wobbles from centre — affects the balance between speed and finish smoothness; a larger orbit tends to remove material faster, while a smaller orbit tends to leave a finer scratch pattern, but exact figures and recommended grit pairings are set out in each manufacturer’s own documentation and should be read before use rather than guessed at.
Corded and cordless versions both exist. For guidance on what battery specifications actually mean for run time and power delivery, see what volts and amp-hours tell you about a cordless tool and the related piece on what brushless motors change in a power tool.
What jobs is a random orbital sander bad at?
It struggles wherever a job needs either heavy stock removal or a perfectly flat, unblemished edge along a straight line. Knowing where it falls short is as useful as knowing where it excels.
- Flattening warped or badly cupped boards: a belt sander or a hand plane removes material faster and more evenly across a large uneven surface.
- Sanding right into a square inside corner: the round pad cannot reach fully into a 90-degree internal corner; a detail sander or sanding block finishes those spots.
- Removing paint or heavy coatings quickly: it can do this, but slowly, and it loads the abrasive disc fast, meaning more discs used per job.
- Fine, controlled edge-breaking on mouldings: a sanding block or profile-shaped sanding sponge usually gives more even, predictable results on a narrow profile.
For a similar look at where a common tool is strong versus where it is the wrong choice, the circular saw strengths and limits article follows the same logic applied to cutting rather than finishing.
What PPE and dust precautions does sanding actually need?
Sanding throws fine dust rather than large chips, but that dust is often the bigger long-term hazard, especially with MDF, hardwood dust and any coating that might contain lead-based paint on older furniture or trim.
Eye protection is worth wearing any time the sander is running above head height or on an edge, since dust and small particles can be thrown back toward the face. Ear protection matters on longer sanding sessions — the noise is steady rather than a sharp bang, which makes it easy to underestimate how much exposure adds up over an afternoon.
Respiratory protection matters most here. Fine wood dust, and especially MDF dust, can be inhaled deep into the lungs, and a simple dust mask rated for fine particulates is a minimum for any extended sanding session; a properly fitted respirator is a better choice for dusty jobs like MDF or old finish removal. Where possible, connect the sander to a dust extractor or shop vacuum through its dust port — most random orbital sanders have one — since capturing dust at the source is more effective than any mask alone. If there’s any possibility of lead paint on an older painted surface, that is a job to research thoroughly, or hand to someone experienced in safe removal, before any sanding begins.
What should a buyer actually compare when choosing one?
Compare pad size, corded versus cordless power delivery, dust extraction fit, and how easily the sanding disc changes — not headline branding or claimed sanding speed. These are the differences that actually change how the tool feels to use day to day.
- Pad size: match to the typical project size in the workshop, not the largest available.
- Corded vs cordless: corded gives constant power for long sessions; cordless gives mobility but depends on battery capacity, covered in more detail in the guide to what volts and amp-hours really tell you.
- Dust port design: whether it accepts a standard vacuum hose or only a proprietary dust bag affects how well dust gets captured in practice.
- Disc attachment system: hook-and-loop discs are near-universal now, but disc hole patterns vary between brands, which can limit which dust extraction holes actually line up.
For a broader framework on comparing power tools by what the spec sheet actually tells a buyer, rather than by marketing language, see the buying tools guide and the wider buying guides archive. The tool guide hub and power tools archive cover how sanders sit alongside other core workshop tools, and the comparisons archive has more head-to-head breakdowns in the same style as this one.
Manual and safety note
Recommended grit sequences, safe operating speed, disc replacement intervals and dust port compatibility are all specific to the individual sander. Always check the manufacturer’s manual and the markings on the tool itself before use, rather than relying on general figures from elsewhere — including this article.
Find Tool publishes general information, not professional advice. Power tools, mains electricity and workshop machinery are genuinely dangerous, and the safe settings, guards and procedures differ between models — always follow the manual and the markings on the tool in front of you rather than a general guide. Never remove or defeat a guard or safety feature. Anything involving fixed wiring, gas or structural work belongs to a qualified tradesperson. Wear the eye, ear and respiratory protection the task calls for.
Featured image: Photo by Dominicus Johannes Bergsma, source, CC BY-SA 4.0
