A machinist’s square is a precision measuring tool made to a tight, verifiable tolerance for checking true 90-degree angles on metal, machine setups and fine woodworking joints. A try square is a woodworker’s layout tool, built to mark and check squareness on timber, but not made or guaranteed to the same standard of accuracy.
Both tools answer the same basic question — is this edge square to that one? — but they come from different trades, are made to different standards, and are not really interchangeable once accuracy matters.
What does a machinist’s square actually do?
A machinist’s square checks or transfers a true 90-degree angle with a known, stated tolerance. It’s used to verify that a machined face is square, that a vice jaw or fence is correctly aligned, or that a workpiece is sitting true before cutting or drilling.
Most machinist’s squares are made from hardened tool steel or stainless steel, ground and lapped flat. They come in a few common forms:
- Solid square — a single fixed piece, often the most accurate because there’s no moving joint to introduce error.
- Beveled-edge square — has a thin, angled edge that meets the reference surface along a narrow line, reducing the chance of dust or a burr throwing off the reading.
- Cylindrical square — a precision-ground cylinder used where an extremely fine check is needed, mostly in toolrooms rather than home workshops.
The defining feature isn’t the shape — it’s that the tool is manufactured and often graded to a recognised accuracy standard, so a given square’s error (if any) is known and small enough to trust for machining tolerances.
What does a try square do differently?
A try square checks squareness between an edge and a face on timber, typically during marking out for joints, cuts or assembly. It’s built for wood-scale accuracy — good enough to see daylight under a mis-cut shoulder, not to catch a fraction of a degree.
A traditional try square has a wooden or metal handle (the stock) fixed at 90 degrees to a thinner steel blade. The stock registers against the edge of a board while the blade lies across the face, letting the user scribe a line or check a cut.
Try squares are built for daily handling in a joinery workshop: dropped on a bench, knocked against timber, used to strike pencil or knife lines. They’re robust rather than delicate, and that’s exactly right for the job — wood moves with humidity and cutting tools leave a rougher edge than a machined metal face, so chasing machinist-level accuracy in a stud wall or a bookshelf carcass isn’t the point.
So what’s the real difference between them?
The real difference is accuracy and purpose, not appearance. A machinist’s square is made and often checked against a stated tolerance for metalworking and precision fitting; a try square is a woodworking layout tool sized and built for timber, without that same guaranteed accuracy.
A few practical distinctions follow from that:
- Material and finish — machinist’s squares are usually hardened and precision-ground; try squares are often just accurate enough, finished for handling rather than for a mirror-flat reference surface.
- Tolerance — a machinist’s square typically states or is graded to an accuracy class; a try square generally doesn’t carry that kind of specification at all.
- How error shows up — a slightly out-of-square try square might still produce joints that look and fit fine to the eye; the same error on a machined part can mean a component won’t seat, align or bolt up correctly.
- Use case — machinist’s squares check machine setups, vice alignment, and metal parts; try squares check and mark timber for cutting and joinery.
Neither tool is “better” in the abstract. A machinist’s square used to mark a stud wall is overkill and arguably more fragile than it needs to be for that job. A try square used to align a milling vice won’t tell the difference between a workpiece that’s true and one that’s out by an amount that matters at machining tolerances.

How do you check whether a square is actually square?
The standard method is to scribe a line against the square’s blade, then flip the square over and scribe again from the same edge — any gap between the two lines shows twice the actual error. This works for both machinist’s squares and try squares and needs only a flat reference edge and a marking tool.
This is essentially the same principle used to test a straight edge, and the two checks are worth understanding together — see how a straight edge is tested for flatness for the related method. A square is only as trustworthy as the reference edge it’s checked against, so a warped or nicked board will throw off even a genuinely accurate square.
For finer work, a dial indicator can be run along a squared face to detect deviation that’s too small to see by eye — worth knowing about if squareness checks are becoming a regular part of a home workshop routine; see what a dial indicator is actually used for.
Does it matter which one you buy for a home workshop?
It depends on what’s being made, not on which tool sounds more serious. A machinist’s square is worth having if the work involves metal, machine setup, or joints where a small error compounds badly; a try square (or a larger framing square for bigger work) covers most timber projects perfectly well.
Some points worth weighing rather than a fixed rule:
- What’s being squared — sheet metal, a lathe or mill setup, and metal fabrication favour a machinist’s square. Furniture, cabinets and general joinery are try square territory.
- How much error is tolerable — a picture frame with a slightly open joint is a cosmetic issue; a bracket that doesn’t sit flush against a mating part can stop an assembly working at all.
- Size of work — small machinist’s squares (often only a few inches) suit small parts; larger squarework benefits from a bigger square or a straight edge combined with a smaller reference square.
- Durability expectations — a machinist’s square that’s been dropped or nicked on its reference edge should be checked again before it’s trusted, since its whole value is the tolerance it was ground to.
Buying either tool comes down to matching the tolerance the work actually needs, not buying the most precise-sounding option available. The general approach to comparing specifications rather than chasing the “best” listed number is covered in the site’s guide to choosing tools and comparing specifications, and it applies just as much to a square as to a power tool.
Can one square replace the other?
A machinist’s square can generally do a try square’s job, since a true 90-degree angle is a true 90-degree angle regardless of trade. A try square usually cannot substitute for a machinist’s square, because its accuracy isn’t built or guaranteed to the tolerance machining work depends on.
In practice, most home workshops that do both wood and metal work end up with both tools, used for what they’re built for: the try square staying on the bench for marking out timber, the machinist’s square coming out for anything metal or anything that has to bolt, seat or align precisely. Keeping them separate also protects the machinist’s square’s reference edges from the dents and pencil grime of daily woodworking use.
Both tools belong in the broader family of measuring and marking equipment rather than power tools, and they’re worth thinking about alongside other precision gear covered in the site’s measuring and precision tools section. For readers building out a first set of layout and checking tools, the broader hand tools archive covers squares alongside straight edges, calipers and marking gauges that often get bought around the same time.
What should you check before trusting a square you already own?
Any square — machinist’s or try — should be checked periodically, especially after a drop, a knock against a metal edge, or storage where it could have been bent or nicked. A square that reads slightly out is worse than no square at all, because it produces confident, wrong results.
The flip-and-scribe check described above takes only a couple of minutes and doesn’t need any other equipment. It’s worth doing before any project where squareness actually matters, rather than assuming a tool is still accurate just because it looks undamaged. Storage matters too — a square left loose in a toolbox with heavier tools is more likely to pick up a nick on its reference edge than one stored flat or in a dedicated slot, a point covered more generally in the site’s tool care section.
For anyone deciding what belongs in a first set of measuring tools, comparing a machinist’s square against a try square is a useful way to think about tolerance versus purpose more broadly — the same logic that separates a caliper from a micrometer, or a straight edge from a spirit level. Getting that distinction right early avoids buying a precision tool that’s wasted on rough carpentry, or relying on a rough tool for work that needed better.
Find Tool publishes general information, not professional advice. Power tools, mains electricity and workshop machinery are genuinely dangerous, and the safe settings, guards and procedures differ between models — always follow the manual and the markings on the tool in front of you rather than a general guide. Never remove or defeat a guard or safety feature. Anything involving fixed wiring, gas or structural work belongs to a qualified tradesperson. Wear the eye, ear and respiratory protection the task calls for.
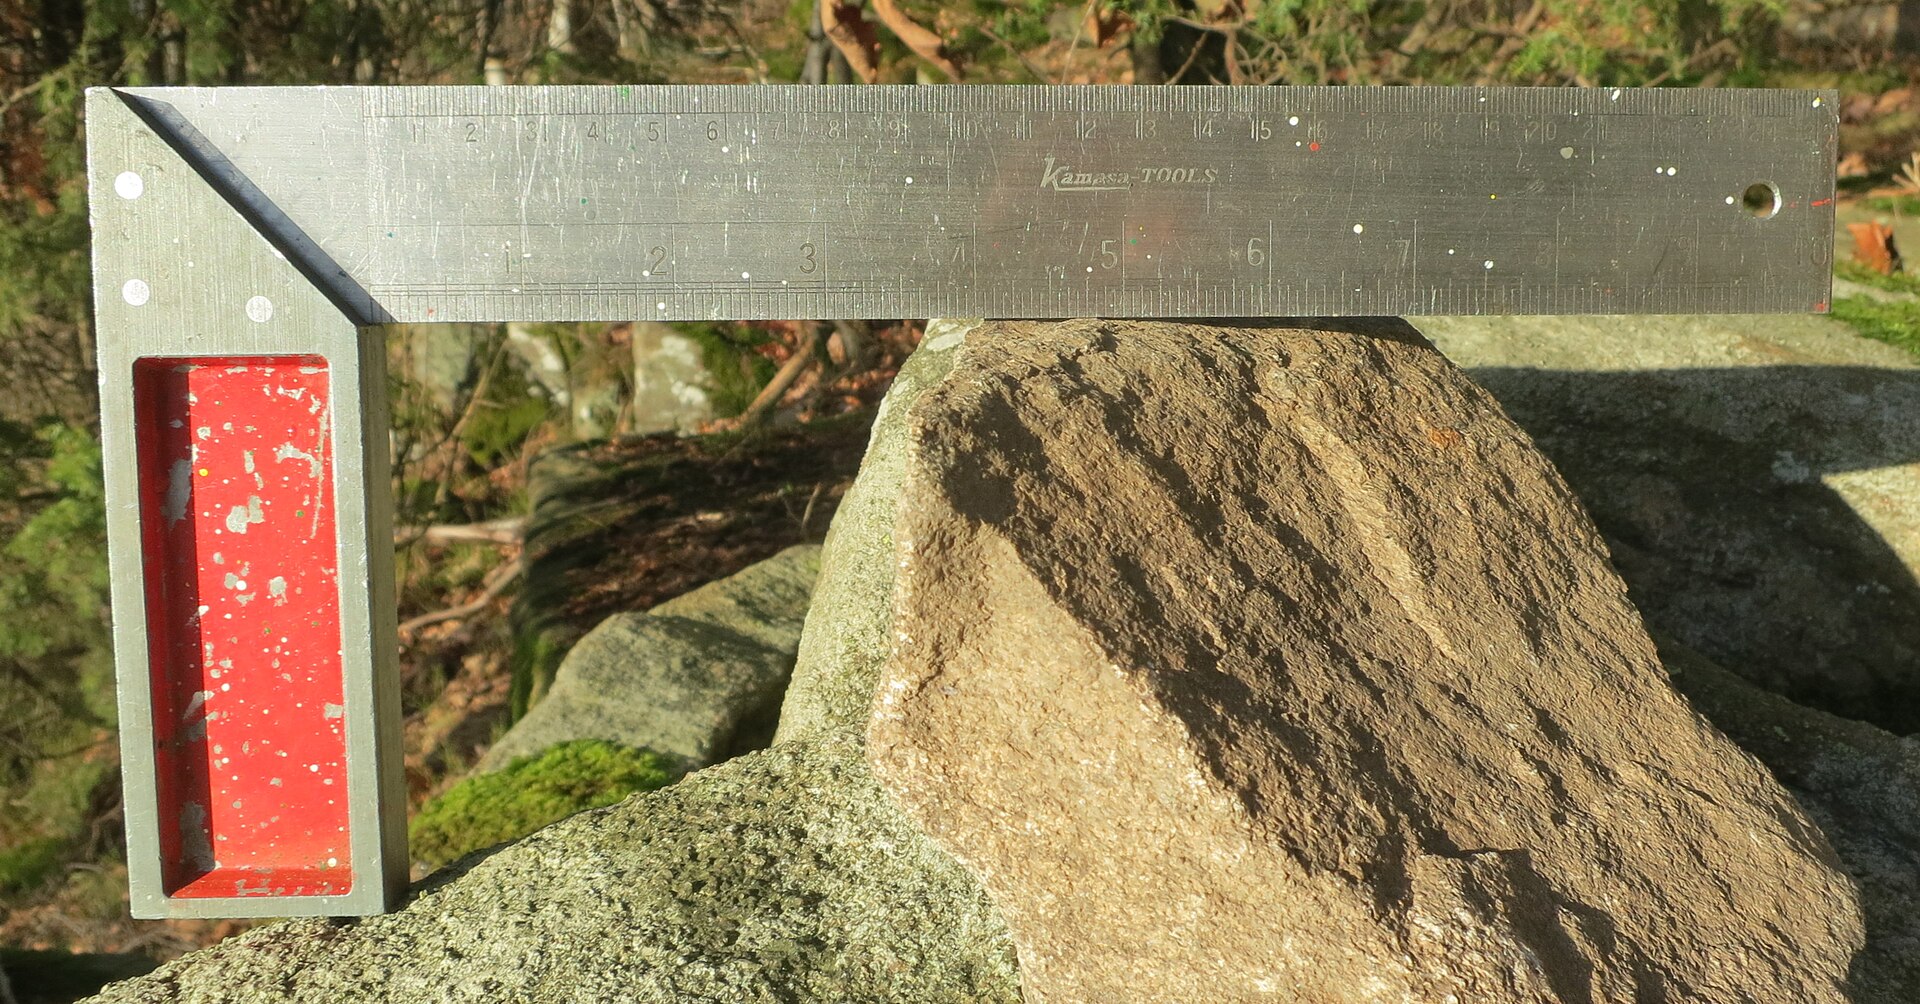
Featured image: Photo by R. Henrik Nilsson, source, CC BY 4.0
Related reading
The Tool Guide, What Is the Point of a Torque Wrench’s Storage Case?.