A rasp has individual raised teeth punched into the metal, which lets it remove wood quickly but leaves a rough surface. A file has fine parallel ridges cut across it, which shapes metal (or wood) more slowly but leaves a smoother finish. Rasps are for fast, coarse shaping; files are for refining and smoothing.
What actually separates a rasp from a file?
The difference comes down to how the teeth are made. A file is cut with a series of parallel ridges, usually in rows that cross each other, produced by a machine that scores lines into hardened steel. A rasp is made differently: individual teeth are punched or stamped into the steel one at a time, so each tooth sits slightly separately from its neighbours.
That single manufacturing difference explains almost everything else about how the two tools behave. Rasp teeth are larger, more widely spaced, and gouge out bigger chips of material with each stroke. File teeth are finer, closer together, and shave off much smaller amounts, leaving a cleaner surface behind.
Which one should you reach for first?
Reach for a rasp when there is a lot of material to remove and the finish does not matter yet. Reach for a file when you are refining a shape, smoothing an edge, or working on metal, where a rasp’s coarse bite would tear rather than cut cleanly.
In practice, many woodworkers use both tools on the same piece, one after the other. A rasp does the rough shaping of a curve or a rounded edge, cutting away wood quickly. A file, or a finer rasp, follows to knock down the ridges the coarse teeth left behind. Sandpaper usually finishes the job after that.
Metalworkers tend to reach for files far more often than rasps, because rasps are designed primarily for softer material like wood, leather and some plastics. Pushing a rasp against steel does not work the way a file does; the punched teeth are not shaped or hardened for that kind of contact.
Can a rasp be used on metal, or a file on wood?
A file works reasonably well on wood, though it tends to clog with wood fibres faster than a rasp does and leaves a smoother, slower cut. A rasp is not designed for metal and should not be used on it; the teeth are shaped for gouging softer material, not for shearing steel.
Files used on wood are common in situations that call for a very controlled, smooth result, such as fine detail work, cleaning up a joint, or shaping something delicate where a rasp’s aggressive bite would remove too much material at once. A half-round or flat file, used with a light touch, can do this well.
The reverse is not really an option. A rasp dragged across metal will not cut it in any useful way and will damage the tool’s teeth. If the job involves metal, a file — or a metal-specific tool matched to the material — is the correct choice.
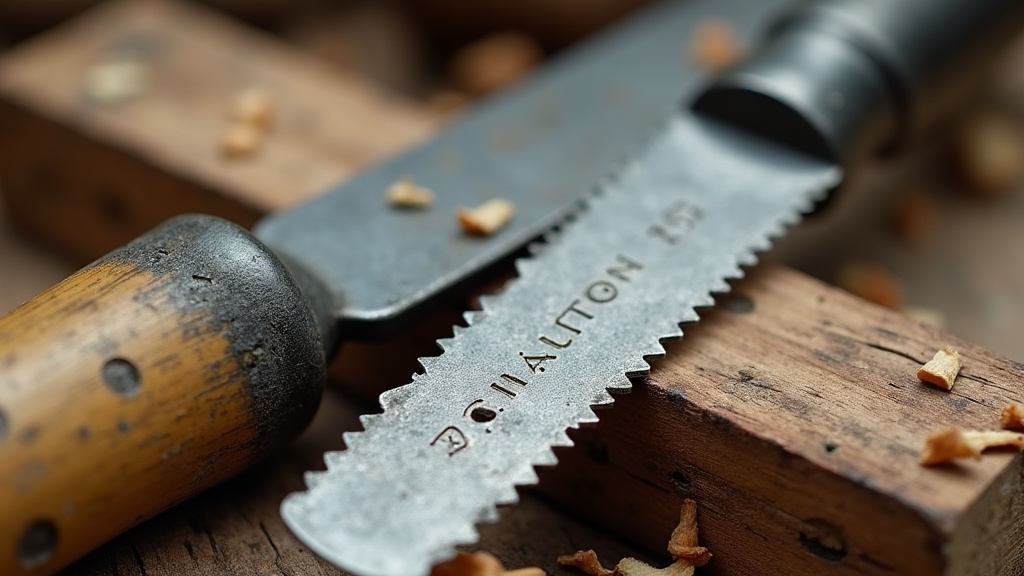
Why do rasp and file teeth look so different close up?
Look at a rasp under good light and each tooth appears as a separate raised point, almost like a tiny chisel standing on its own. Look at a file and the teeth form continuous ridges running across the face, often in two directions that cross to form a diamond pattern.
This is why a rasp’s surface feels aggressive and slightly rough to the touch, almost like a coarse grater, while a file’s surface feels more like a fine, even texture. The rasp’s separated teeth each dig in and pull out a small chip independently, which is what makes it fast on wood but coarse in its finish. The file’s continuous ridges shear off thin shavings evenly across the surface, which is slower but leaves less texture behind.
Does the shape of the tool matter as much as the tooth pattern?
Shape matters just as much as tooth type, because both rasps and files come in flat, half-round, round and triangular profiles, and the profile decides what kind of surface the tool can reach. A flat profile suits flat or gently curved edges; a round or half-round profile suits concave curves and holes.
Choosing the right profile is often more important than choosing between a rasp and a file in the first place. A half-round rasp can shape both a flat face and a concave curve depending on which side is used, which is why it is a common first purchase for anyone starting to build a hand-tool kit. A flat file does the equivalent job for metal edges and for smoothing wood after a rasp has done the rough work.
Anyone building out a basic bench kit alongside these tools may also find it useful to read about what a chisel’s bevel angle is actually for, since chisels, rasps and files are often used in the same sequence when shaping a joint or an edge by hand.
What is “tooth cut” or “grade” telling you when buying a file?
The cut or grade of a file describes how fine or coarse its ridges are, from rough through to smooth. A coarser grade removes material faster but leaves more visible marks; a finer grade removes less per stroke but leaves a cleaner surface.
This is one of the more confusing specifications for a newcomer, because manufacturers use different naming systems and the terms are not always consistent between brands. Rather than treating the printed grade as an exact figure, it is more useful to compare files by feel and by the marks they leave on a scrap piece of the material being worked. A coarse file for rough shaping, a smoother one for finishing, is the practical logic regardless of the exact label used.
Rasps are graded in a similar way, from very coarse — often used for the first pass on a rough shape — down to finer patterns that leave less texture. Some rasps use a pattern of individually placed teeth at varying angles specifically to reduce the ridged lines that a row-cut rasp leaves behind, which is worth checking if the finish matters more than raw speed.
What PPE does filing or rasping actually call for?
Both tools throw off dust and fine particles as they cut, so eye protection is needed any time either is in use, even for a short pass. Filing or rasping hardwoods, treated timber or metal also produces fine dust that is worth keeping out of the lungs, particularly during longer sessions or repeated passes.
- Eye protection for every session, since chips and dust come off at face height when working close to the piece
- A dust mask or respirator suited to fine wood or metal dust, especially with hardwoods, MDF, or extended filing sessions
- A secure grip on the workpiece, using a vice or clamps, so hands stay well clear of the cutting edge and the tool cannot skate off the surface unexpectedly
Filing and rasping are quiet, hand-powered tasks, so hearing protection is not usually a factor the way it is with powered equipment. The main risks are dust in the eyes and lungs, and a slipped tool catching a hand that is holding the workpiece too close to where the file or rasp is cutting.
How does this fit into a wider hand-tool kit?
Rasps and files sit alongside chisels, planes and scrapers as the tools that shape and refine wood or metal by hand rather than by machine. Knowing which one suits a given stage of the work — rough shaping versus fine smoothing — saves time and avoids damaging a piece that is already close to finished.
For anyone comparing tools more broadly, the guide to choosing tools and understanding specifications covers how to weigh up similar trade-offs across other categories, and the tool guide hub explains how a wider range of hand and power tools actually work. The hand tools archive and the comparisons archive are also useful starting points for readers deciding between similar-looking tools, while related reading on what a card scraper does and why woodworkers keep one and what a spokeshave is used for covers two other hand tools that often follow a rasp or file in the same shaping sequence.
General safety practices around dust and eye protection for hand-tool work are covered in more detail in the safety and PPE archive, and readers weighing up which shaping tools to add to a kit may find the buying guides archive a useful place to compare options without chasing a specific brand or model.
Find Tool publishes general information, not professional advice. Power tools, mains electricity and workshop machinery are genuinely dangerous, and the safe settings, guards and procedures differ between models — always follow the manual and the markings on the tool in front of you rather than a general guide. Never remove or defeat a guard or safety feature. Anything involving fixed wiring, gas or structural work belongs to a qualified tradesperson. Wear the eye, ear and respiratory protection the task calls for.
Related reading
What Is a Mallet For If You Already Own a Hammer?, What Is a Bench Hook? A Simple Woodworking Jig Explained.
Featured image: Photo by ArtistAmyKarle1, source, CC BY-SA 4.0
