A doweling jig is a metal or plastic guide that clamps onto a board and holds a drill bit square and centered, so two pieces of wood get matching holes for glued wooden dowels. It replaces visible screws with hidden pins and glue, for a joint with no metal showing.
What does a doweling jig actually do?
It solves one problem: drilling two holes, in two separate boards, that land in exactly the same place. Do that by eye and the holes drift. Off by even a little, and the dowels won’t seat.
The jig clamps over the edge or face of the workpiece. A hardened bushing holds the drill bit on-center and stops it wandering sideways. Move the jig to the mating board, line up the reference marks, and drill again. The two holes match.
Dowels themselves are simple: short lengths of fluted hardwood rod, commonly 1/4, 5/16 or 3/8 inch in diameter for furniture-scale joints. The flutes let trapped air and excess glue escape as the dowel is driven home. That detail matters more than it sounds, and comes up again below.
Why choose dowels over screws?
Choose dowels when the joint must disappear and the load is shear, not racking. A glued dowel joint has no visible fastener, no filler plug, and no metal to catch a sander or a future screw.
Screws are faster and reversible. They hold well, but they leave a visible head or a plug unless counterbored and capped. On a painted or clear-finished face frame, that plug is still faintly visible, especially once paint dries and shrinks slightly at the edges.
Dowels are chosen for:
- Face-frame and cabinet door joints that will be painted and seen up close.
- Edge-to-edge panel glue-ups, where dowels add alignment, not real strength.
- Chair and table joints under shear load, where the dowel resists sliding across the joint line.
Screws are chosen for:
- Anything that may need to come apart later, like shelving or jigs.
- Quick workshop builds where speed matters more than appearance.
- Joints under racking or twisting load, which a plain dowel resists poorly on its own.
How do dowels compare with pocket holes and biscuits?
All three hide a fastener or spread glue over a wider surface. They are not the same tool for the same job, and swapping one for another changes what the joint can do.
A pocket-hole jig drills an angled screw hole from the back or underside of a board. It is fast, strong, and genuinely reversible if the screw is backed out. But the screw hole is visible from one face, so it only works where that face stays hidden.
A biscuit joiner cuts a slot for a flat, football-shaped wafer, mainly to align panels during glue-up. Biscuits add little real strength on their own; they are a registration aid, not a structural joint.
Dowels sit between the two. They carry real shear load, like biscuits done properly, and they disappear completely, like a pocket hole does on the hidden face. The trade-off is time: dowel joints need careful marking and drilling, and they are harder to take apart if a mistake needs correcting.

What is the most common mistake with dowel joints?
The most common mistake is drilling the hole to the exact depth of the dowel, with no air-relief channel and no chamfer on the dowel’s leading edge. The joint then hits hydraulic lock.
Here is what happens. Glue goes into a blind hole. The dowel is pushed in. With nowhere for the trapped air and excess glue to go, pressure builds ahead of the dowel. The joint stops closing, often with a visible gap, even though both holes were drilled perfectly straight and perfectly matched.
Three things fix it:
- Drill each hole slightly deeper than the dowel is long, so there is a small air pocket at the bottom.
- Use fluted or spiral-grooved dowels rather than smooth rod, so glue has a path to escape along the dowel’s length.
- Chamfer or lightly sand the leading end of a dowel if it is not already shaped, so it does not act like a piston.
None of this shows up until clamping. The holes look fine, the dowels look fine, and the joint still will not close flush. Checking for an escape path before glue goes anywhere near the hole takes a few seconds and avoids a wasted glue-up.
What should be compared when buying a doweling jig?
Compare how the jig registers on the workpiece, not just its price or bushing count. A jig that self-centers on the board’s thickness is far less fiddly than one needing manual measurement for every setup.
Look at:
- Self-centering versus fixed-offset design, which decides how much setup each joint needs.
- Bushing sizes included, since a jig limited to one dowel diameter restricts future joints.
- Clamping method, since a jig that shifts mid-drill ruins the alignment it exists to guarantee.
For a broader look at how to weigh specs like this against real use, the site’s buying guide hub covers what to compare before spending on any jig or joinery tool. The tool guide hub is a useful starting point for how joinery and power tools work together in a small shop.
What PPE and setup does doweling need?
Drilling dowel holes is low-speed, low-dust work compared with routing or sawing, but it still throws fine wood dust, especially in hardwood or MDF edges. Eye protection is worth wearing for any drilling at face height, and a dust mask is sensible when working MDF edges, since that dust is fine and best not inhaled repeatedly.
Clamp the jig and workpiece securely before drilling; a jig that shifts under drill pressure is the main cause of misaligned holes, not the tool itself. Related reading on wider shop setup is in the woodworking category and the hand tools category, alongside the safety and PPE section for dust and eye protection basics.
Find Tool publishes general information, not professional advice. Power tools, mains electricity and workshop machinery are genuinely dangerous, and the safe settings, guards and procedures differ between models — always follow the manual and the markings on the tool in front of you rather than a general guide. Never remove or defeat a guard or safety feature. Anything involving fixed wiring, gas or structural work belongs to a qualified tradesperson. Wear the eye, ear and respiratory protection the task calls for.
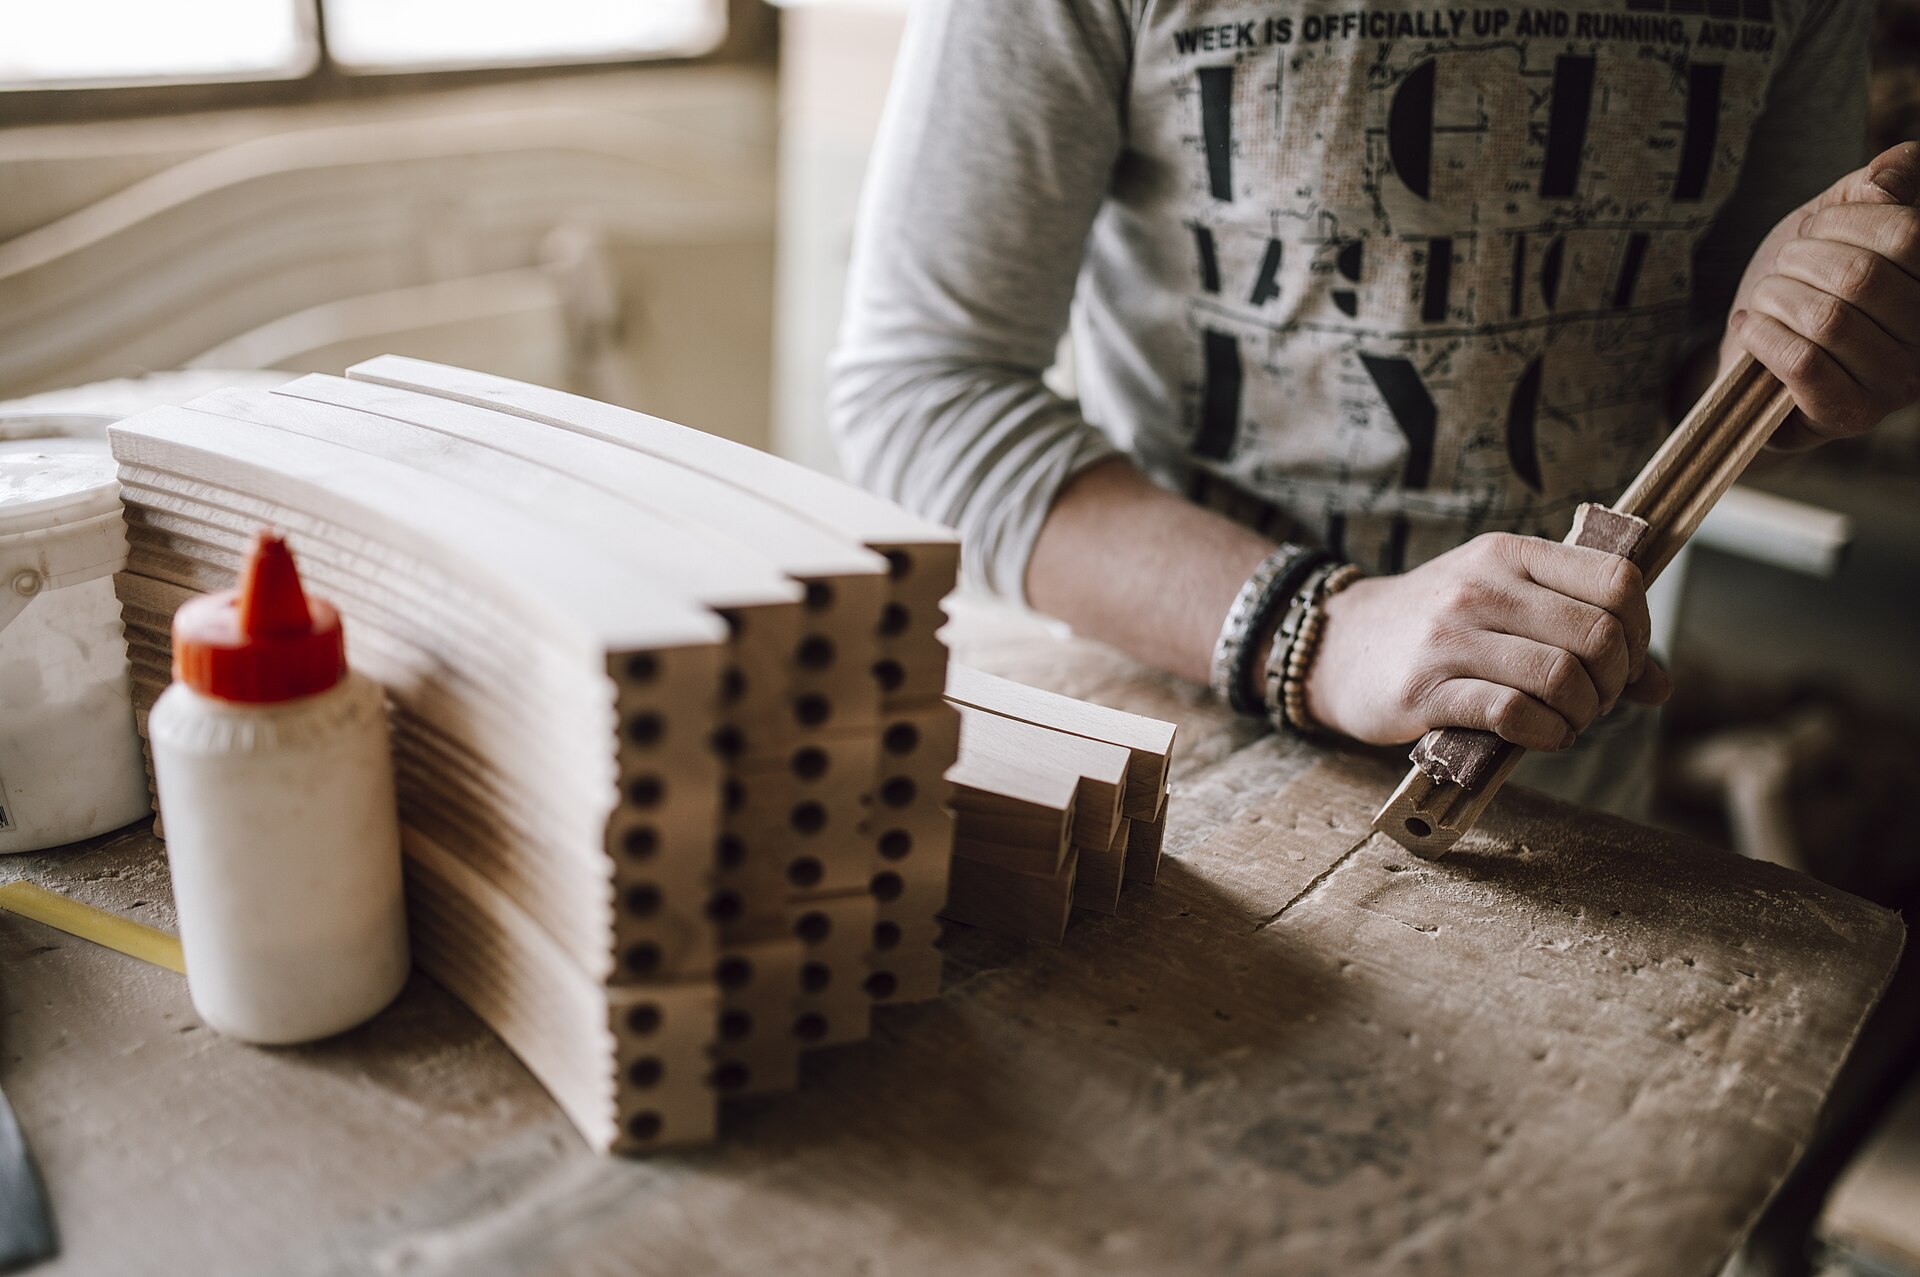
Featured image: Photo by Shixart1985, source, CC BY 2.0